Table Of Content
So, you’ve noticed kids are diving headfirst into video creation. But let’s be real—kids see video editing as pure fun, while parents often see it as a possible distraction.
However, done right, video editing can be both fun and a valuable skill for the future.
Not only does it engage kids creatively, but it helps them develop tech literacy—a critical skill in a world where digital know-how is more important than ever.
In fact, studies show that digital storytelling improves creativity and cognitive skills—kids who create their own videos become better at problem-solving and adapting to new tech.
Yet, there’s a disconnect.
Many parents recognize the importance of tech literacy for their children’s futures but feel uncertain about how to support them.
Between choosing kid-friendly software and understanding editing basics, it can feel overwhelming.
Therefore, in this guide, I’ll break down the best practices, kid-friendly tools, and a few advanced tricks to give your child a head start in digital storytelling.
Is Video Editing Safe and Suitable for Kids?
Yes, video editing, when thoughtfully managed, can be an incredible skill-building experience for kids.
They gain hands-on practice in storytelling, sequencing, and trimming, plus basic design skills that could lead to a deeper passion for media or tech.
However, many popular editing apps fall short of protecting young users.
Without strong content filters, these platforms sometimes expose kids to explicit or mature content via shared templates or user-generated media.
And apps tied to social media can pull kids into the pressures of public sharing, opening the door to privacy risks, cyberbullying, or even an unhealthy focus on likes and followers.

To make video editing a safe and truly enriching experience, parents need to be proactive and thoughtful about the choices they help their kids make.
Choosing kid-friendly editing apps with strong parental controls gives children the freedom to explore and learn without the risk of unnecessary exposure.
Just as importantly, encourage your kids to create for the joy of it—for personal enjoyment or family projects—rather than for online approval.
This way, video editing can remain a positive, inspiring space for them to build skills and confidence.
Best Video Editing Software for Kids
When exploring video editing software for kids, it’s important to choose one that is safe and supportive of learning.
However, before making a decision, let’s break down what makes the best options stand out for young editors.
Ease of Use
Ease of use is the foundation for keeping kids motivated to learn and create.
From my years of working with beginners, the most effective platforms have clear, intuitive interfaces.
Elements like drag-and-drop functionality and easy-to-navigate menus are crucial. Kids need to jump in and see results quickly; otherwise, their interest wanes.
Therefore, choose an intuitive platform, where children can start editing without sifting through complicated tutorials.
Safety and Privacy Settings
Safety and privacy are paramount when choosing any tool for kids.
Parents need reassurance that the platform won’t expose their children to inappropriate content or intrusive ads.
Opt for software that prioritizes user protection with stringent privacy settings and parental control features.
Platforms with secure offline modes and no connectivity to external content or user-generated media are ideal.
Free vs. Paid Options
Deciding between free and paid software requires weighing the trade-offs.
Free options can be excellent starting points but often come with limitations like watermarks or ads.
These can be distracting and reduce the enjoyment of the creative process. Paid versions usually eliminate these barriers and offer expanded creative capabilities.
The key is balancing investment with your child’s commitment level and ensuring the tool matches their creative goals.
Recommended Software for Kids
Based on the points shared above, I've put together a list of the top editing software options that are perfect for kids, offering ease of use, safety, and a fun way to develop their creativity.
Canva Video Editor
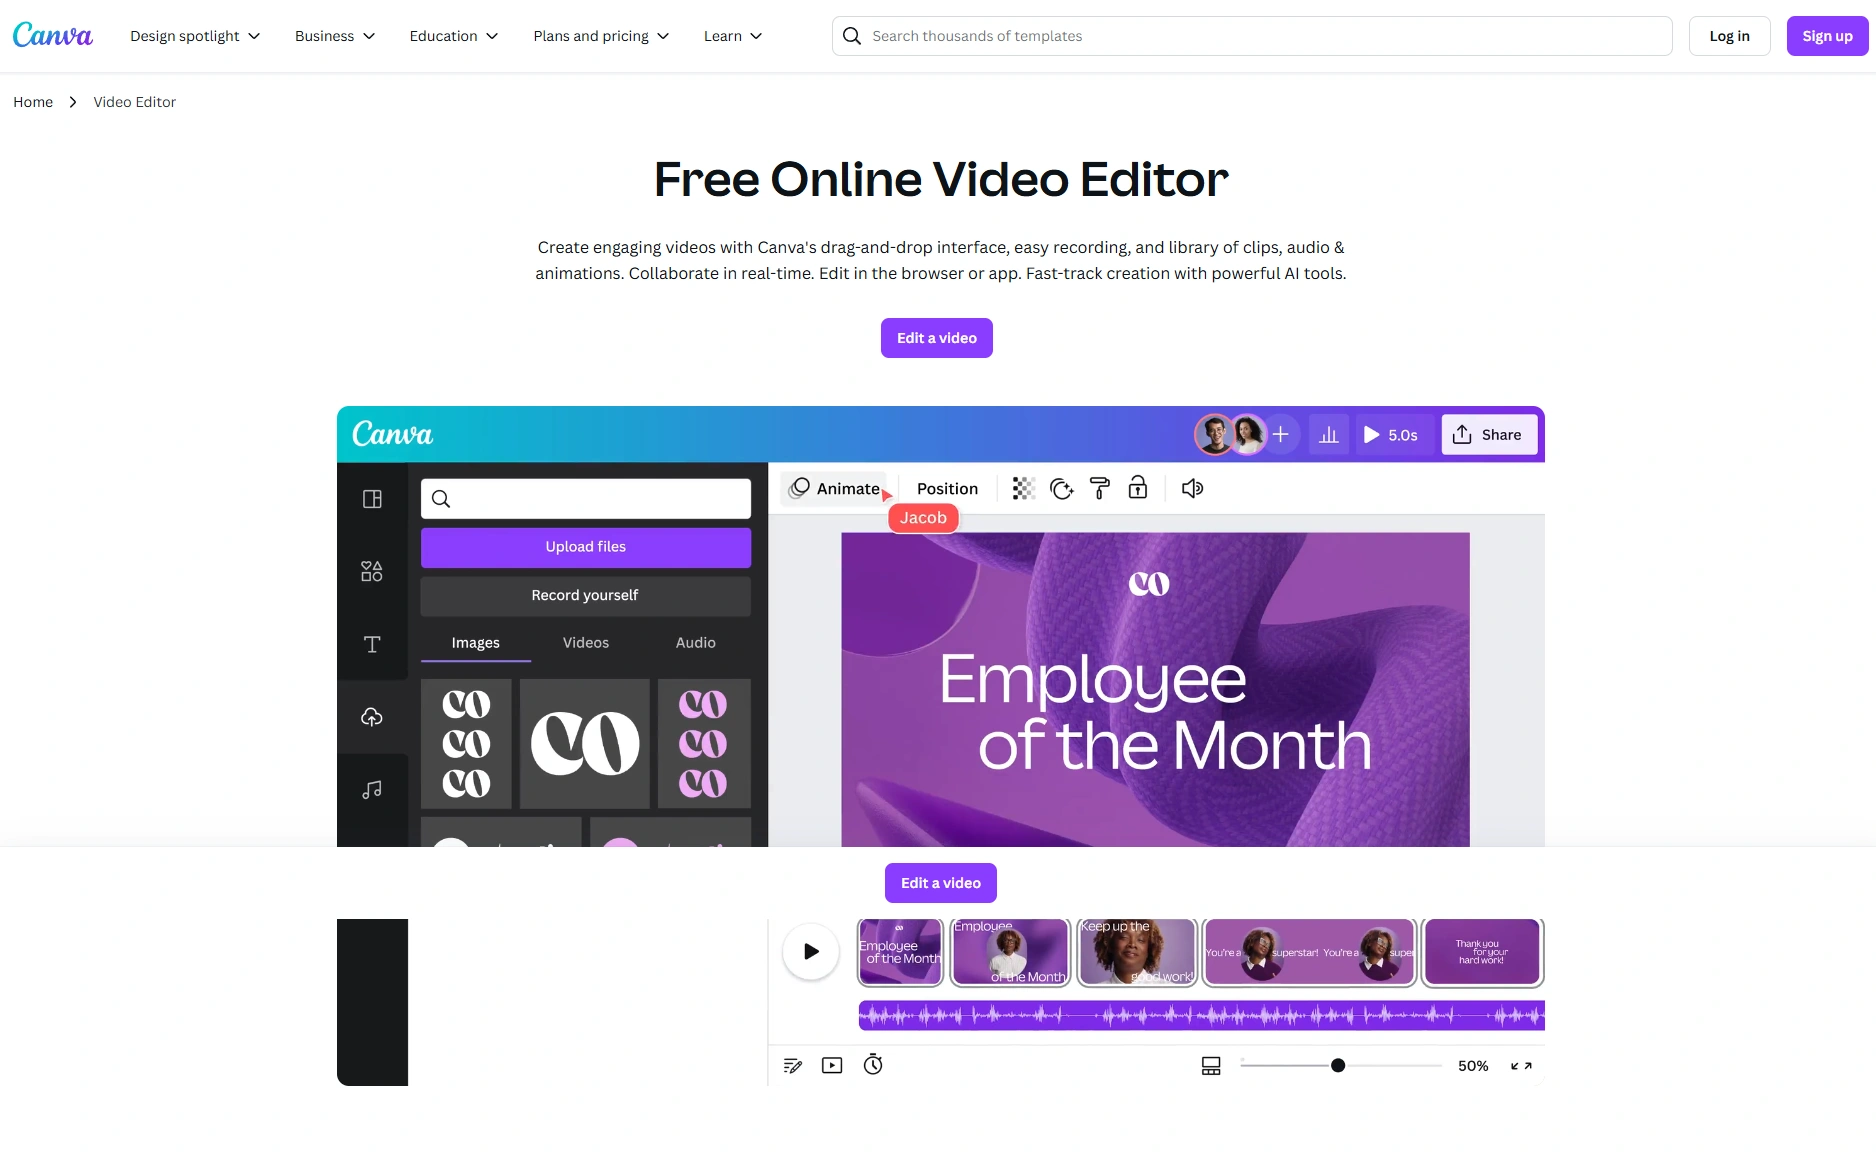
If your child is just starting to explore video editing, Canva Video Editor is a fantastic starting point.
I remember when I first introduced my younger sibling to Canva in a creative workshop.
What stood out was how intuitive the interface was. The drag-and-drop functionality meant there was no steep learning curve—just pure creativity.
With Canva’s wide range of kid-friendly templates, your child can create animations, add music, and throw in some fun stickers—all within minutes.
It’s web-based, so no need to worry about taking up too much storage on your device, which is a huge plus in my experience.
Over the years, I’ve seen how quickly kids get the hang of it, and they’re often eager to experiment more with all types of videos they make.
Zebracat
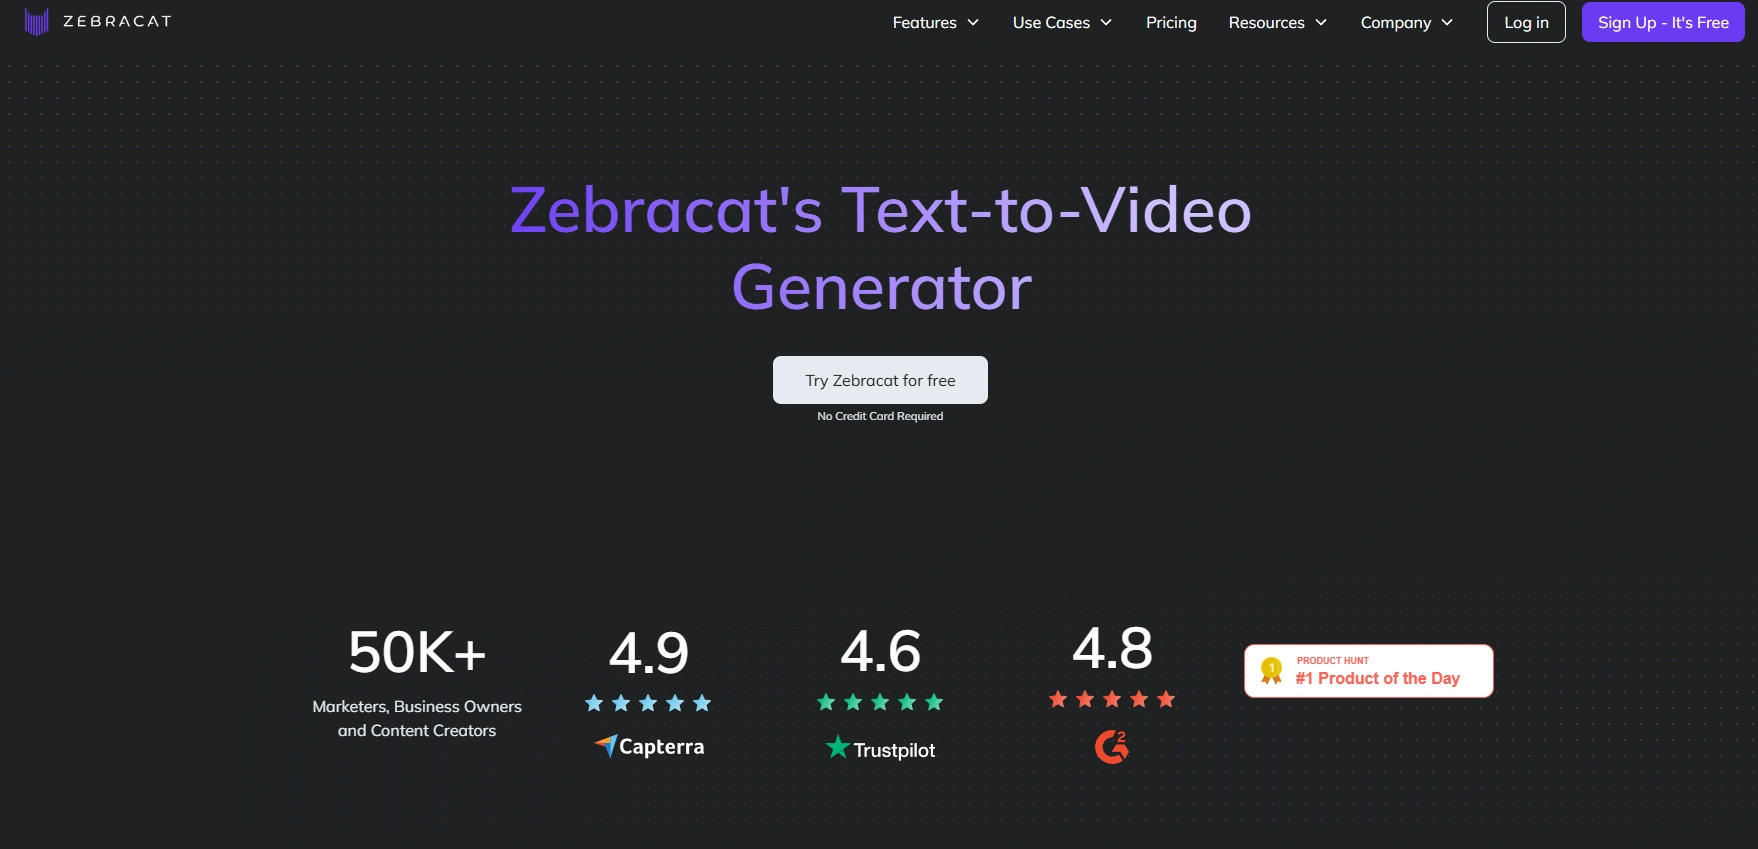
Zebracat is an AI-powered tool that helps kids turn simple text into videos with minimal effort on their part.
I first came across Zebracat while searching for easy-to-use video tools, and I was impressed by how quickly it can turn a script into a full video.
Moreover, its AI human-like voiceovers can make a basic script feel like a professional voice actor is reading it.
It's particularly great for kids who are just learning how to tell stories and want to keep things simple without complicated editing skills.
One of the best things about Zebracat is that there are zero ads—a huge relief for parents.
Many video tools bombard kids with ads that can sometimes include inappropriate content that leaves parents feeling frustrated and worried.
But with Zebracat, your child can stay focused on creating without distractions or concerns about unwanted ads sneaking through.
Windows Photos (Video Editor) for Windows
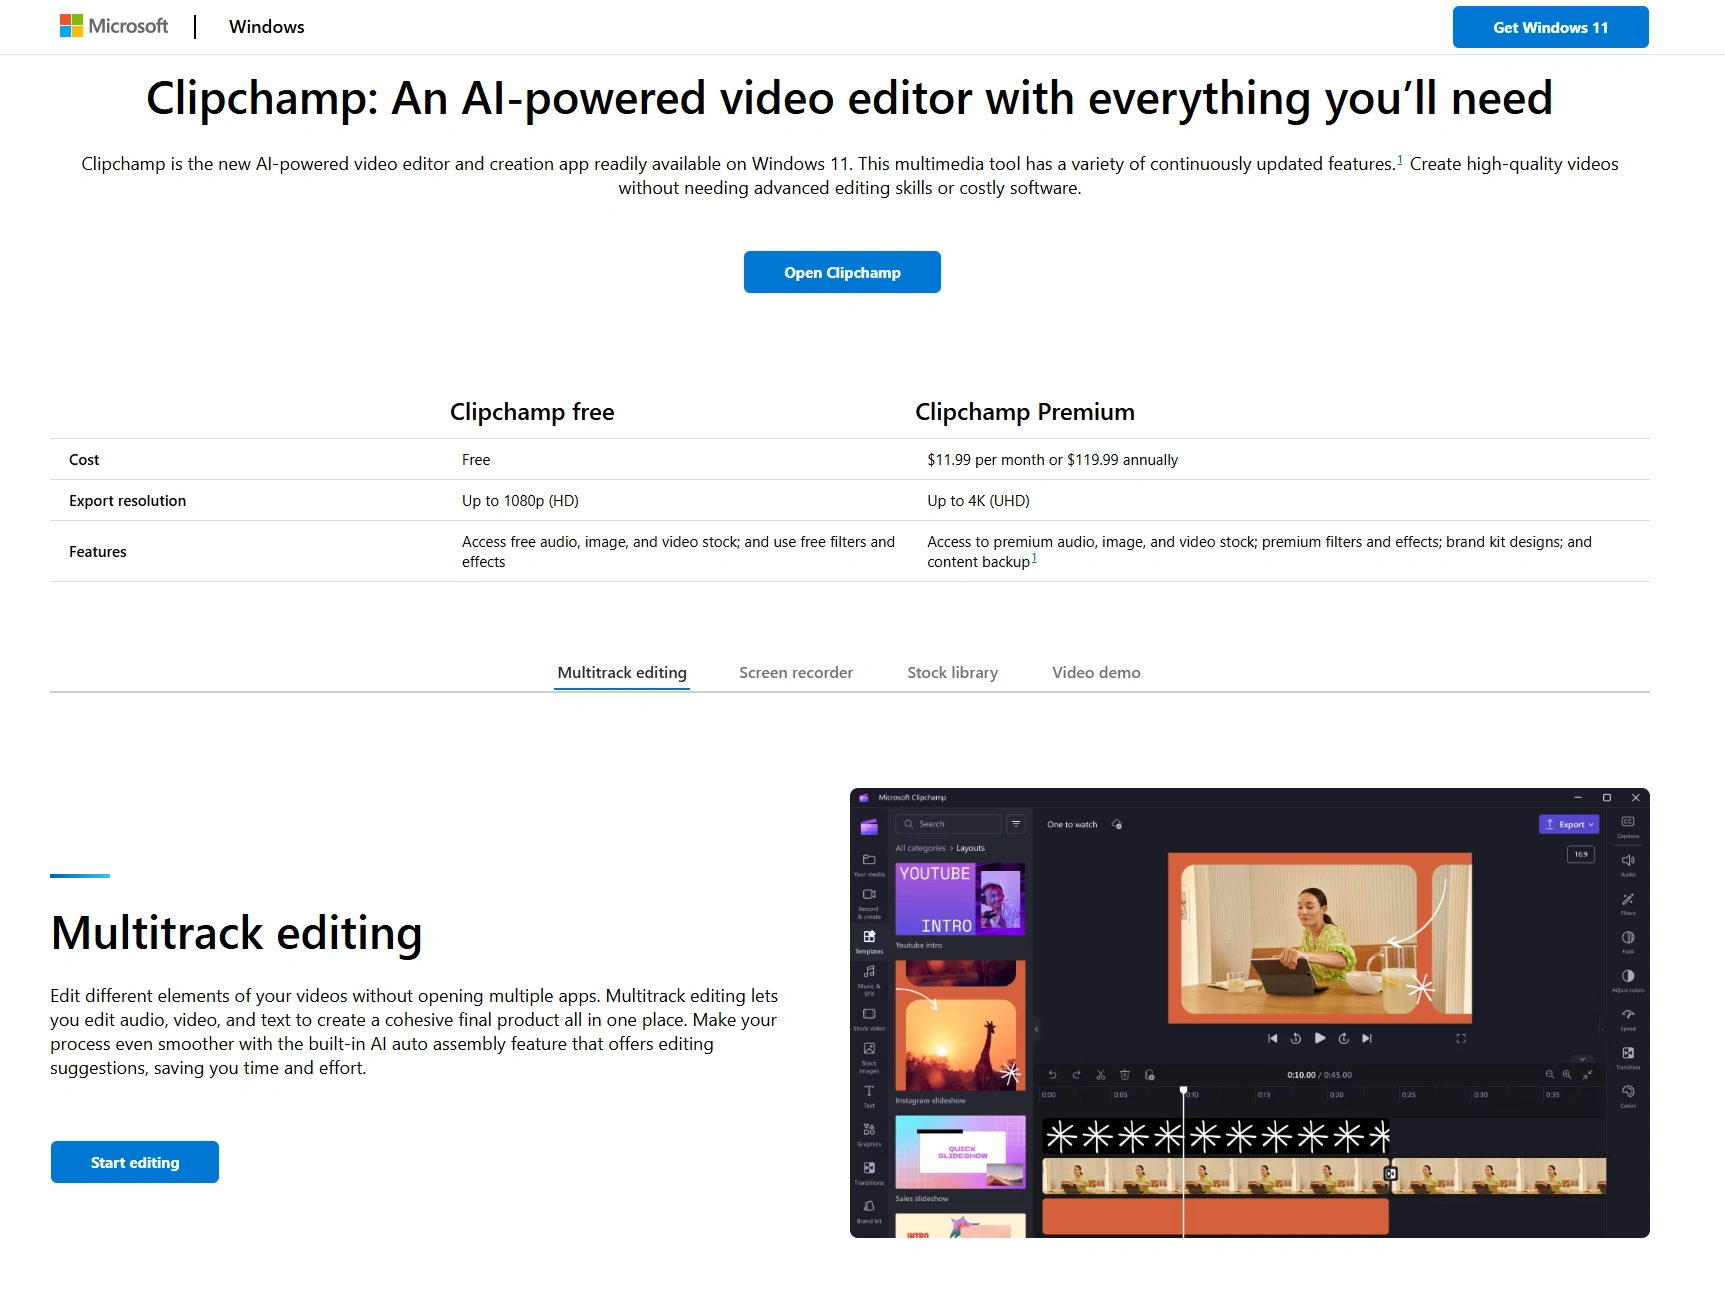
For Windows users, the Microsoft Windows app, Clipchamp is surprisingly a versatile and user-friendly video editor.
When I first showed my nephew how to use it for a school project, I was blown away by how simple it was for him to stitch clips together and add a background score.
This editor is completely free for all Windows users and doesn’t come with any ads or unnecessary distractions, which is a big win in my book.
The app also includes some nice features like basic transitions, slide show creation, and even AI tools in Windows 11 to erase backgrounds or blur them.
The best part? It's AI-powered. You can choose from 170 AI voices with lifelike accents and tones in 70+ languages for realistic voiceovers.
Plus, if your child needs to access cloud storage, there’s integration with OneDrive and iCloud for easy media management.
More Advanced Options (For Older Kids)
As kids get older and their video editing skills grow, they’ll likely want to explore more advanced tools that offer more creative possibilities.
These options can help them develop their skills further and prepare them for professional-level editing in the future.
Adobe Premiere Rush
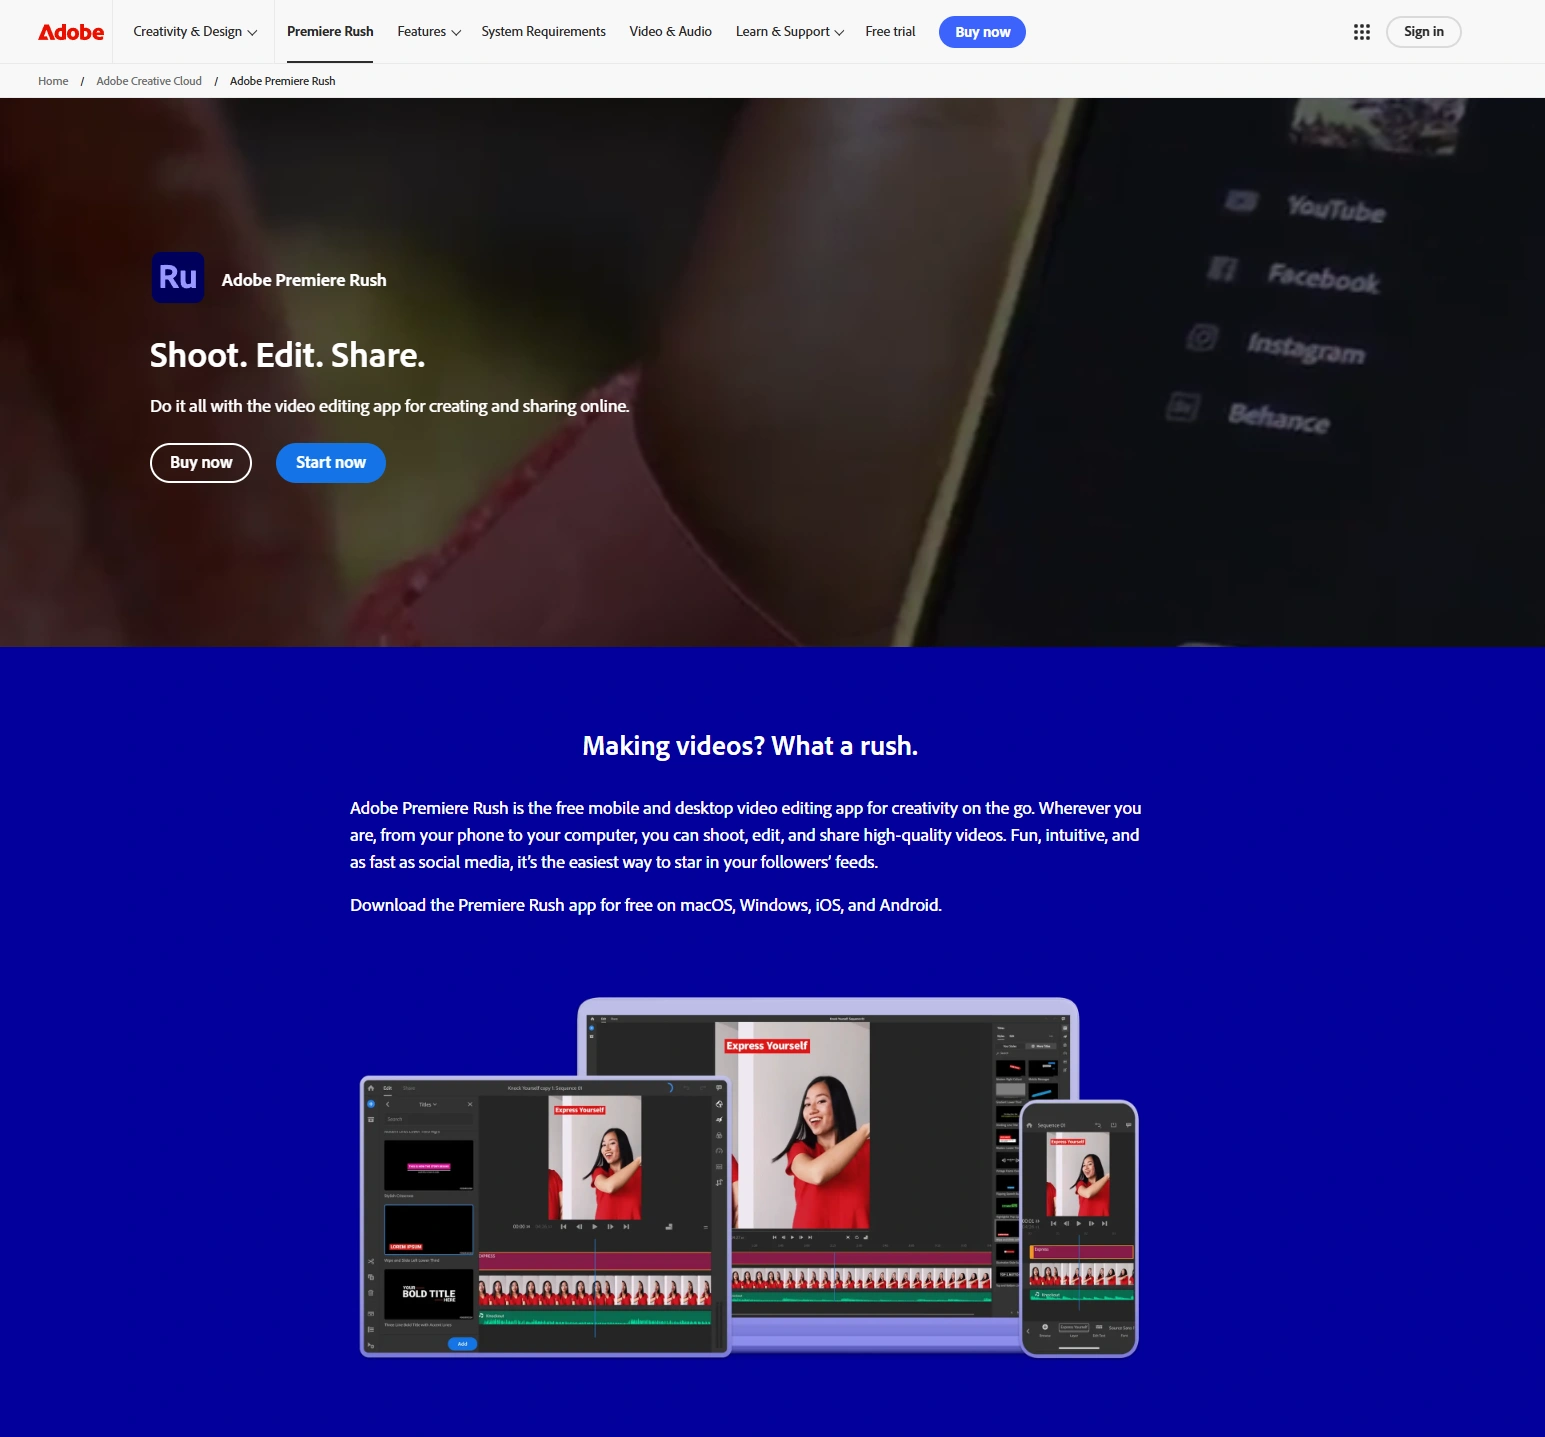
For pre-teens and teenagers ready to explore more sophisticated video editing tools, Adobe Premiere Rush is an excellent step up.
This software paired professional-grade capabilities with a user-friendly layout.
I’ve mentored teens who started with basic tools and wanted more; Premiere Rush offered them that creative jump.
They can learn to tweak colors, use multi-track editing, and experiment with transitions—skills that eventually set them up for using Adobe Premiere Pro.
It’s intuitive enough not to overwhelm but rich enough to challenge and develop their skills.
Filmora for Kids

Filmora strikes the perfect balance between beginner-friendly tools and advanced features, making it an ideal choice for older kids.
Young creators can explore tools like green screen effects, audio enhancements, and a variety of transitions and filters.
My cousin, who’s in her early teens, absolutely loves the green-screen effects and the variety of transitions Filmora offers.
She’s been using it for about six months now, and I’ve noticed how much more confident she’s become in editing videos.
What makes it stand out is how it blends fun features with solid video editing tools, and lets kids create more dynamic videos while still keeping things simple.
Basic Concepts of Video Editing for Kids
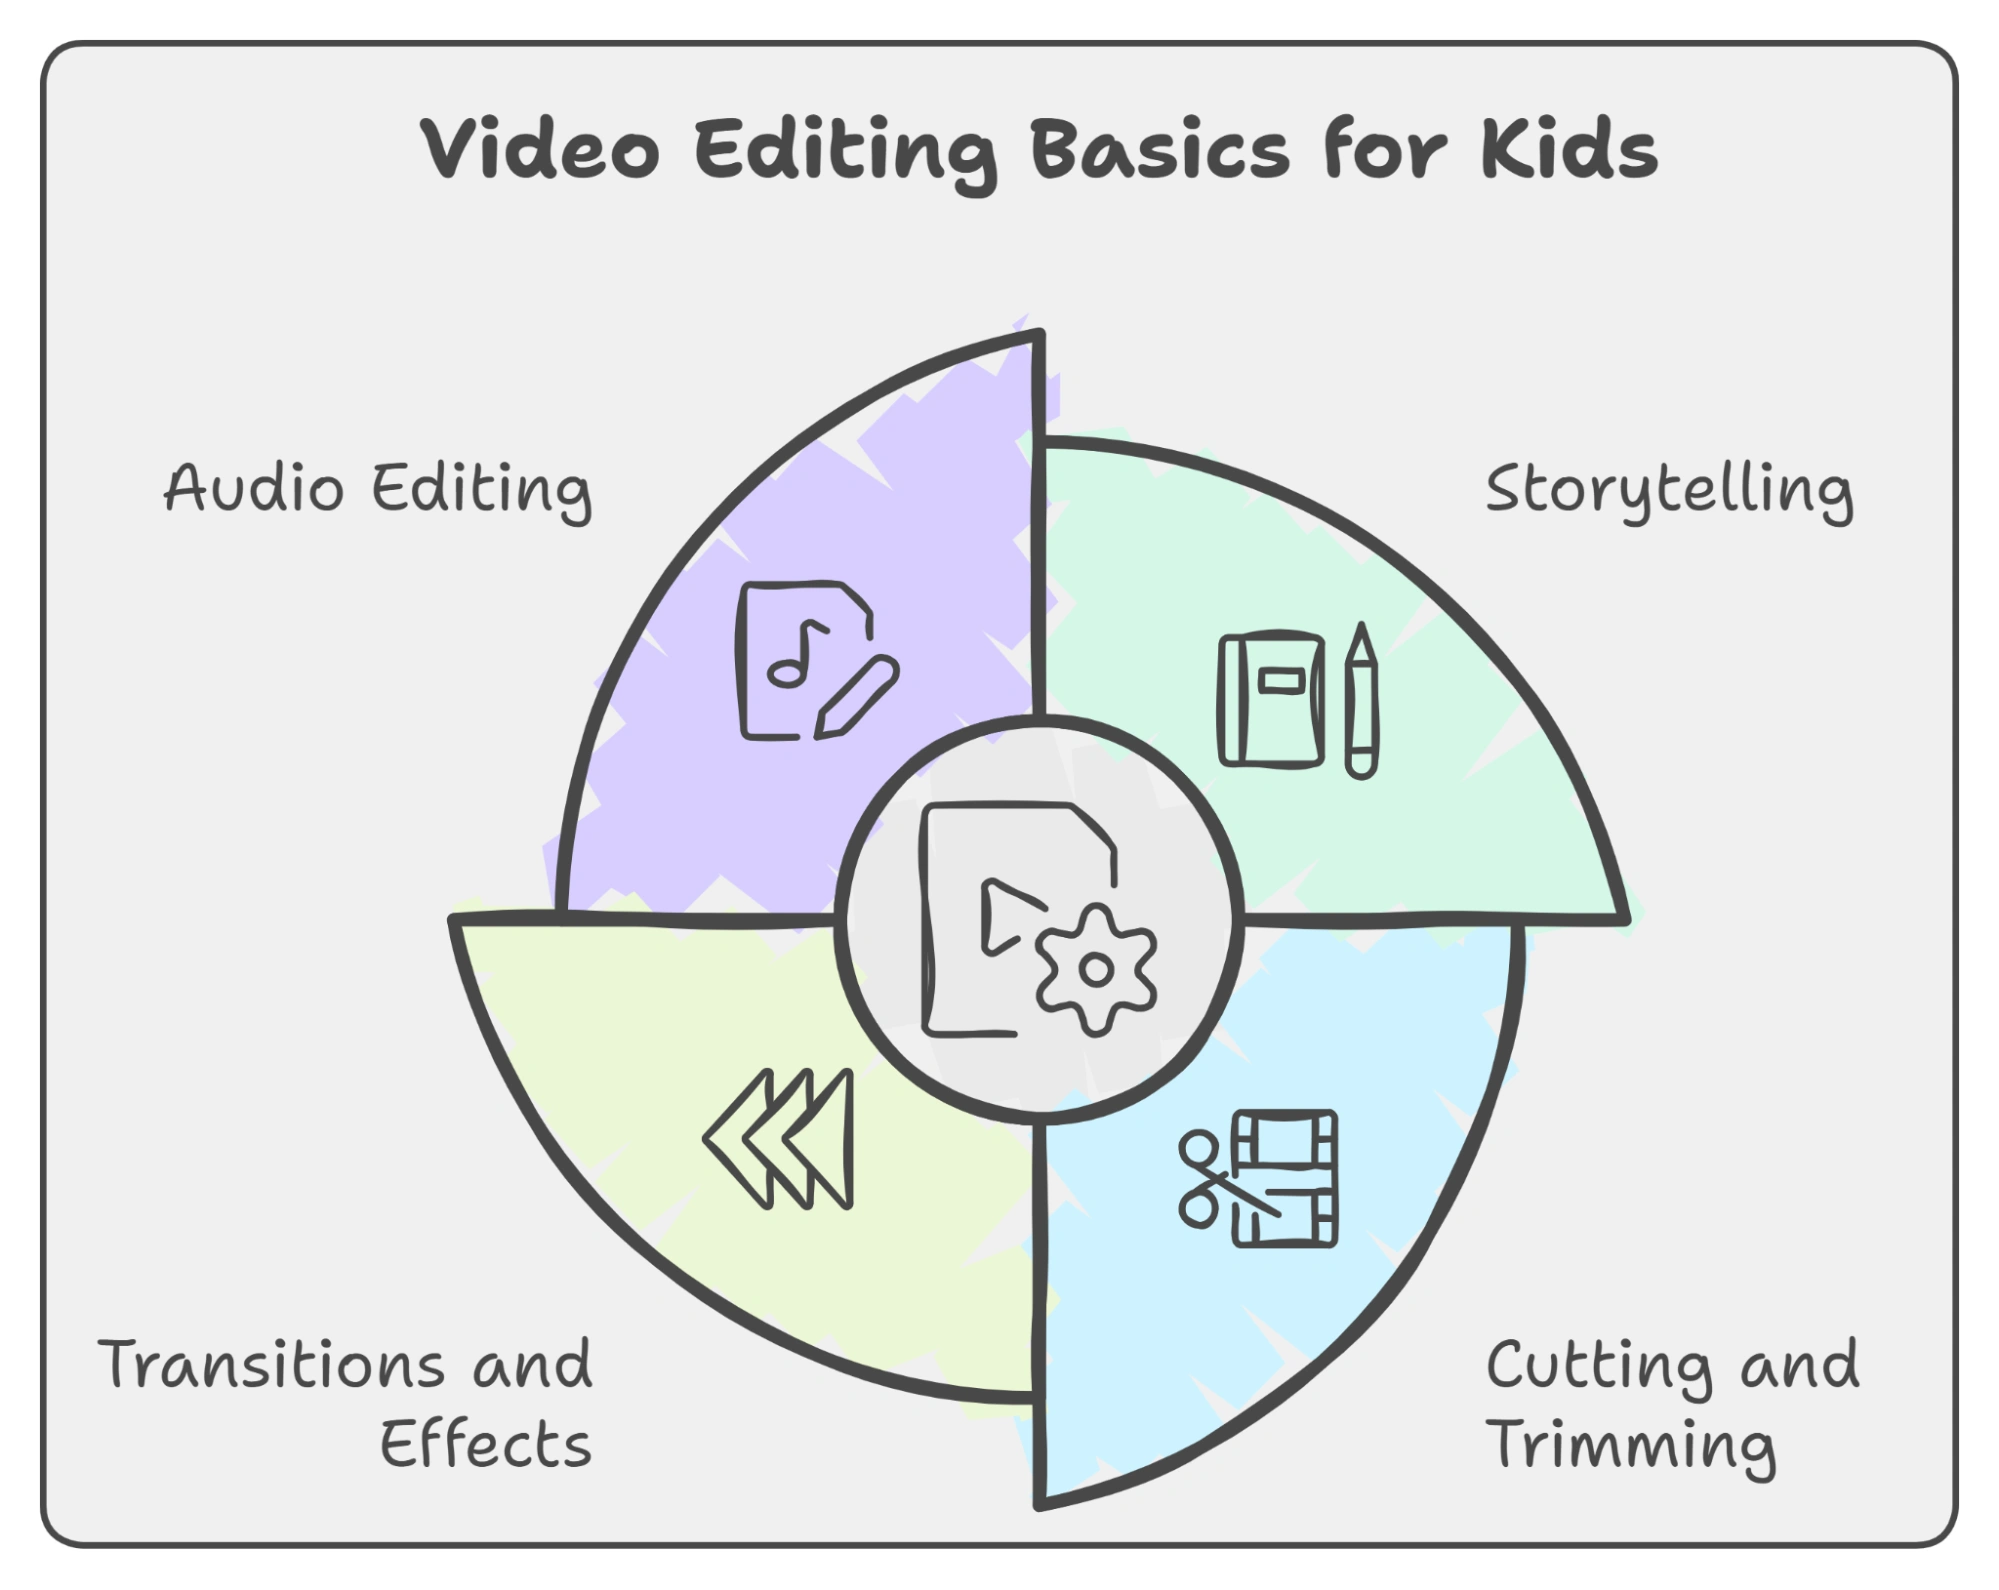
When you introduce kids to video editing, it’s essential to focus on the basics. These foundational techniques lay the groundwork for more advanced techniques later on.
1. Storytelling
The first thing you want to instill in young creators is the idea of storytelling. Video editing is all about telling a story, whether it's a simple “day in the life” vlog or an imaginative short film.
While this sounds basic, you’d be surprised how many kids jump straight into editing without understanding the importance of a narrative.
In fact, I’ve noticed that children who start with small, simple projects—like editing a video about their favorite toy—often develop stronger storytelling skills compared to those who jump into complex projects too quickly.
A good rule of thumb is to keep it simple…
“What’s the beginning, middle, and end of your story?”
Ask them to plan out their video first—maybe on paper, or even with a quick storyboard.
Even a simple sketch can help them visualize how the story will unfold and let them break the video into segments.
2. Cutting and Trimming
The concept of "cutting" and "trimming" is often the first technical skill kids learn. It’s essentially the backbone of editing.
Removing unnecessary footage helps tighten up the story, keeps the audience tied up, and can completely change the flow of a video.
I remember teaching my younger cousin this concept.
She had filmed a 10-minute clip of her unboxing a toy, but I quickly showed her how to trim out the “boring bits”—like the time spent reading instructions—and how it instantly made the video more interesting.
When kids learn that editing isn’t about keeping everything they filmed, they get a better understanding of pacing and timing, which are crucial for engaging content.
3. Transitions and Effects
Once kids get comfortable with cutting, the next step is learning how to add transitions. These are the visual effects that smooth the shift from one scene to another.
They’re a great way to make videos look polished and professional, even at a beginner level.
Simple transitions like fades, wipes, and dissolves can be a great starting point.
As they get more confident, kids can explore advanced effects like slow motion or color grading, which will make their videos stand out even more.
4. Audio Editing
Now, here’s something many kids (and even adults) overlook: audio.
In my experience, audio quality can make or break a video.
For beginners, this might mean adding background music, sound effects, or a simple voiceover.
While kids might be excited about the visuals, they often forget that audio plays a huge role in storytelling.
Moreover, I suggest you encourage kids to experiment with different sounds.
They can add background music that fits the mood, overlay sound effects, or even record their voice.
If they don’t want to record themselves, they can use text to speech feature of Zebracat which adds voiceover, music, and sound effects automatically.
Plus, most video editing tools, even the free ones, allow for basic audio editing, like adjusting volume or fading music in and out.
Step-by-Step Guide to Making a Simple Video with Zebracat
When it comes to simplifying video creation for kids, Zebracat is an absolute gem.
It’s not your typical video editor where you have to manually stitch clips together or worry about complicated effects.
Instead, Zebracat uses AI to do a lot of the heavy lifting.
After spending a decade in video content creation, I’ve used tons of tools over the years and I can say that Zebracat is perfect for kids who are just starting their journey into video editing.
Therefore, below I’ve shared the step-by-step process to make a simple video with Zebracat:
- Once you log in to Zebracat, click “Create video” and then from the left sidebar, choose the type of video you want to create.
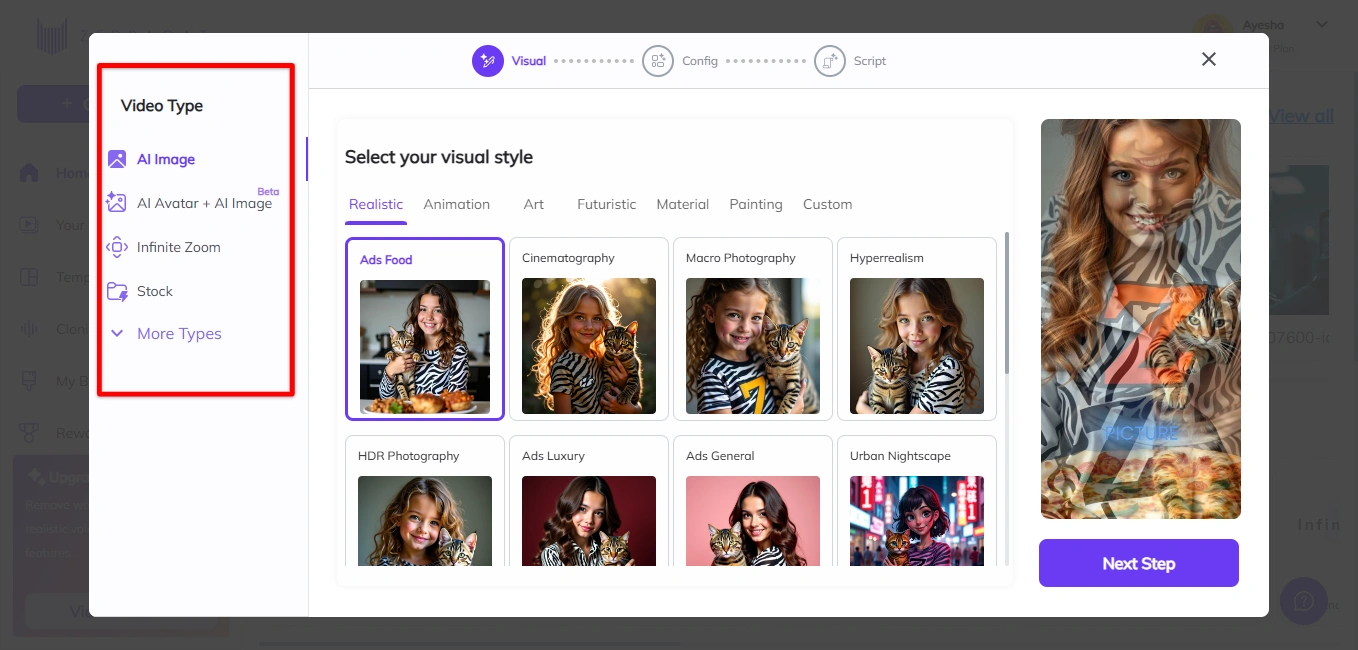
- In the Visual section, select the style that best fits your video like "Realistic" for lifelike visuals and "Animation" for animated effects.
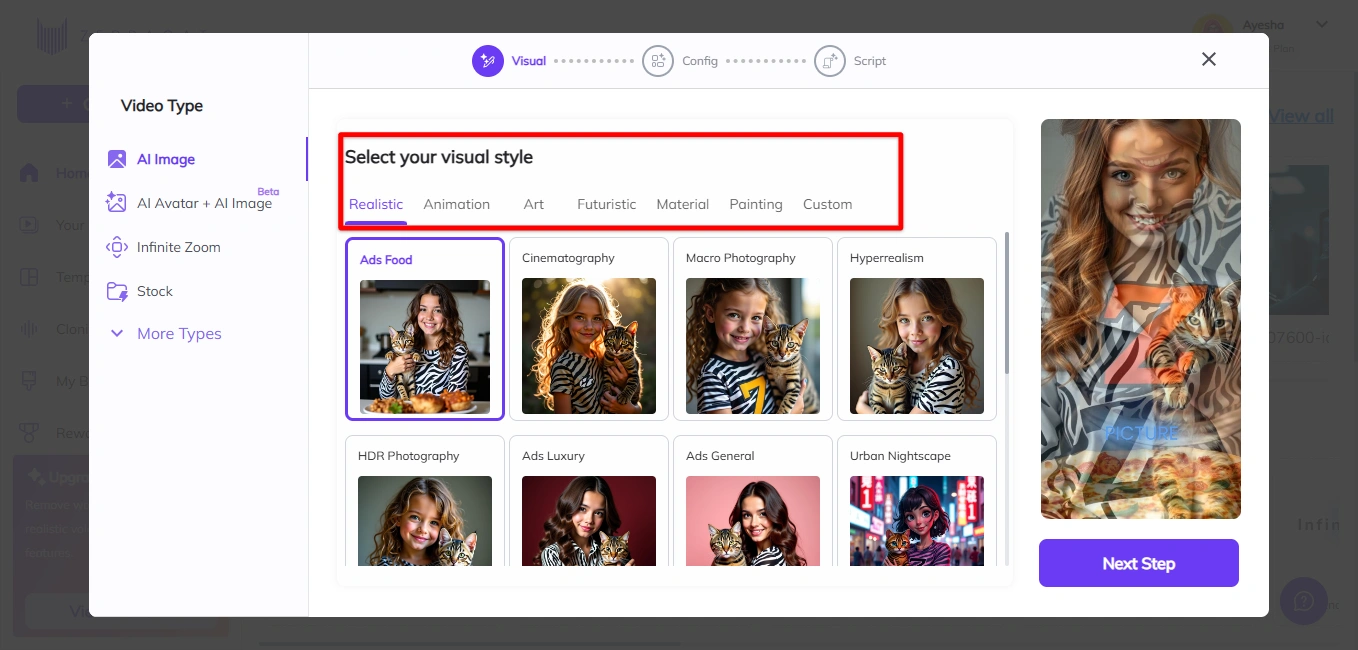
- Once you've selected your desired visual style, click the "Next Step" button at the bottom-right of the screen to continue.
- Now, select your input type. I recommend choosing Prompt Input because it simplifies the process—you don’t need to write the video script yourself. Instead, Zebracat will generate it for you based on your idea or description.
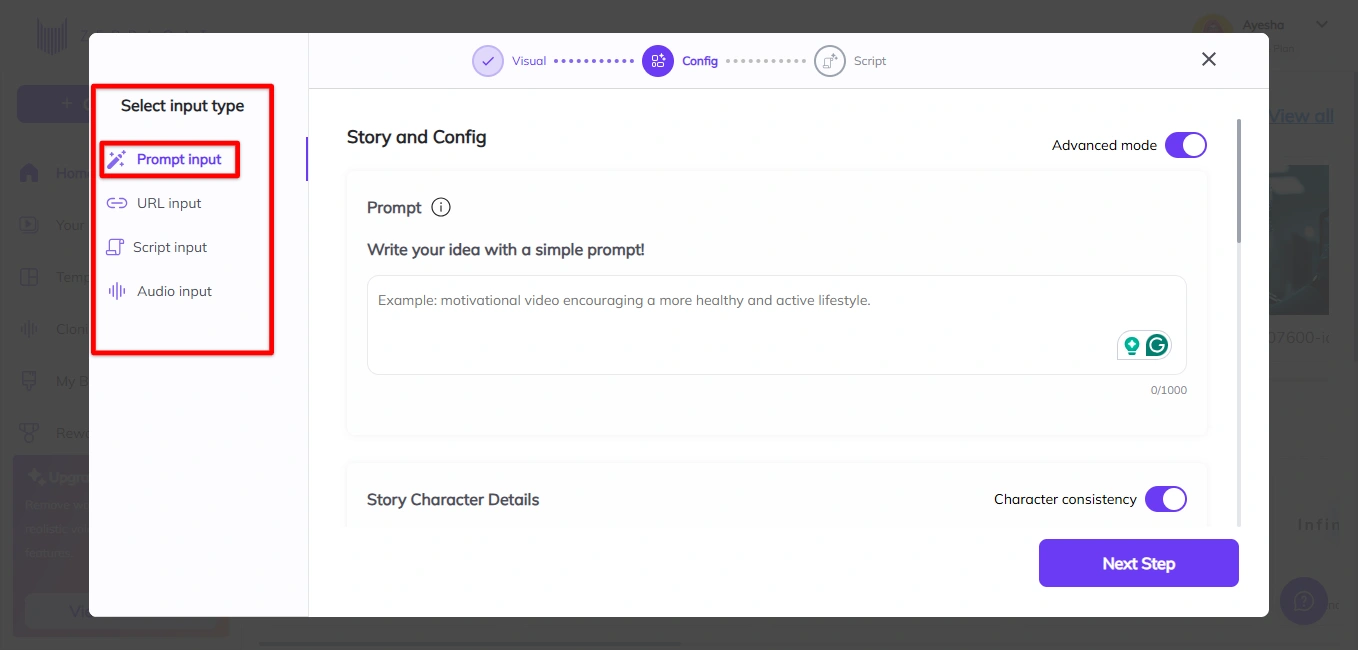
- In the Prompt box, write your video idea or a description of the content you want to create.
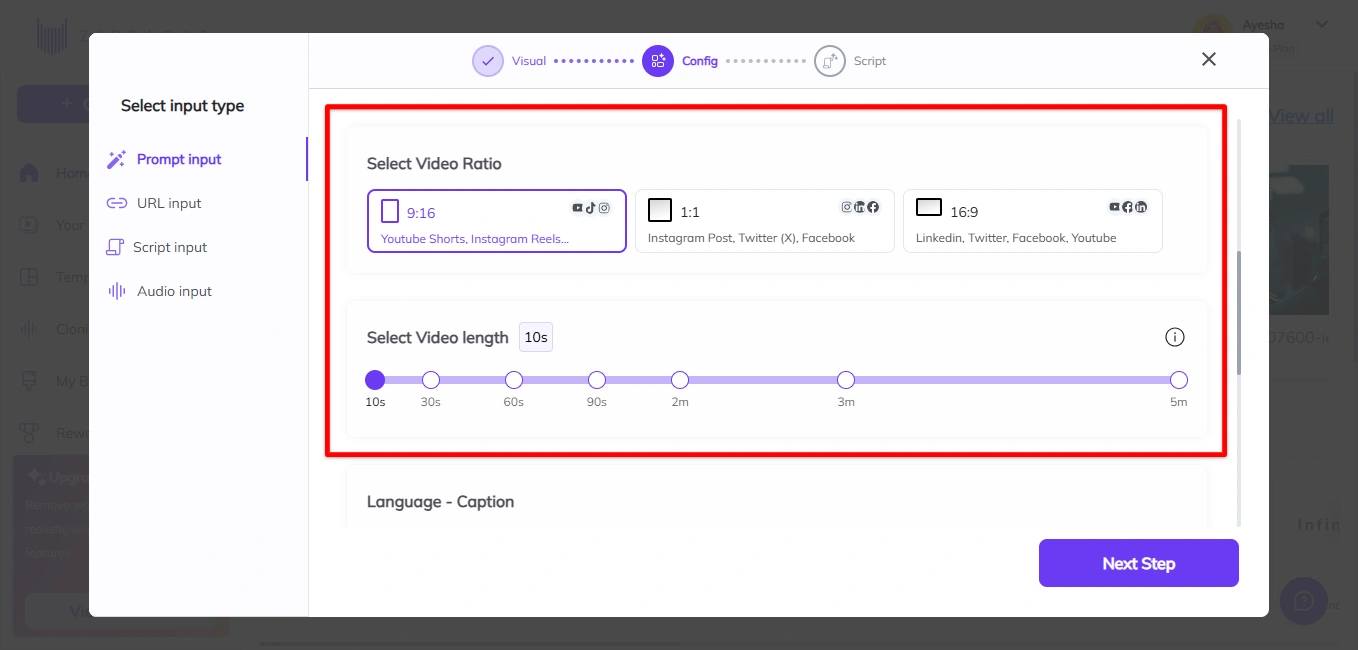
- Choose the video ratio and the length. Shorter lengths are great for social media, while longer durations suit detailed storytelling.
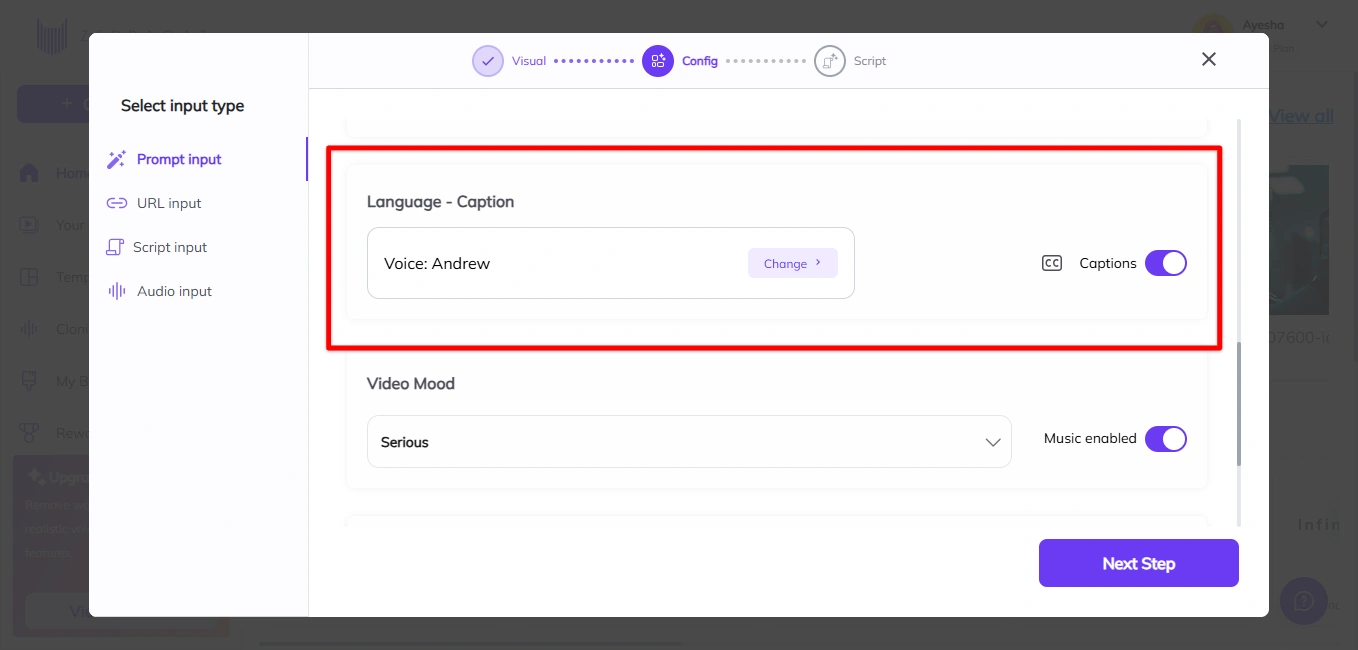
- Choose the language for captions and then select the voice.
- Pick a mood that aligns with your message.

- Once all preferences are set, click “Next Step.”
- Select one script generated by Zebracat and hit “Generate video.”
- Zebracat will process the script, visuals, and other settings to create your final video.
- Once the video is ready, preview it to ensure everything looks good. Now make adjustments (quite easy using Zebracat editor). This way, even a child can make a professional video easily.
Fun Video Editing Ideas for Kids
Below, we’ll look at specific project ideas that go beyond the basics and give kids the chance to work thoughtfully while honing skills that go far beyond mere technicalities.
Making a “Day in the Life” video
When kids start making a “Day in the Life” video, they often think it means filming random snippets of their day. But it’s really about storytelling.
Show them how to look at their day like a storybook with a beginning, middle, and end.
Maybe they start with their cozy morning routine, move to something exciting like a game with friends or an art project, and end with a peaceful wind-down in their pajamas.
By making these videos, kids will learn about shot composition, time management (how to plan their day), and editing pacing. They might even add fun elements like background music or voiceovers, to make the project more engaging.
Creating a “How-To” or Tutorial Video
A how-to explainer video is another excellent way for kids to learn the art of clear communication through editing.
Creating these types of videos teaches kids how to break down information and present it in a logical sequence.
It also builds their skills in things like adding annotations, text overlays, and transitions to make the tutorial easy to follow.
If your child is into DIY projects, they might even combine their love for crafting with video editing, creating a fun and educational project.
Seasonal videos (e.g., Halloween or holiday specials)
Seasonal video projects are a great way to add some excitement to the editing process.
For example, a spooky Halloween video, a holiday gift guide, or a New Year's countdown, themed videos let kids tap into seasonal trends and incorporate festive visuals.
Moreover, these projects encourage creativity as kids figure out how to decorate their sets, choose costumes, and edit their footage to match the theme.
For example, a Halloween video might involve spooky sound effects, costume reveals, and fun jump scares.
Kids can even take it a step further and learn how to incorporate special effects like fake cobwebs or eerie lighting.
These kinds of videos teach kids how to adjust their editing based on a specific theme, which builds their flexibility in applying different techniques for different purposes.
Working with friends or family members to create short movies
Collaborative video projects are a fantastic way for kids to work on communication and teamwork.
Rather than working solo, they can involve friends or family in their video-making process.
They can write scripts, act out scenes, and then edit the footage together.
Even more, it encourages kids to think about story structure, set design, and even acting!
Working with others also teaches them how to delegate tasks, share ideas, and solve creative problems together.
Simple green screen or costume fun
The green screen effect may sound complicated, but in reality, it's something even younger kids can learn quickly, especially with the help of simple editing tools.
By using a green backdrop, kids can insert themselves into all kinds of settings, like outer space, a medieval castle, or their favorite video game world.
Plus, it can turn into a fun and educational project where kids learn about how movies are made and what goes into special effects.
And, of course, costumes!
Dressing up and acting out roles is a fun way for kids to engage with their content, whether they're superheroes, pirates, or animals.
Editing Tips and Tricks for Kids
Getting started with video editing can feel overwhelming, especially for kids who are just starting.
But trust me, with the right guidance and a few simple tricks, kids can quickly become confident video editors.
So here are some editing tips and tricks that will help kids get the most out of their videos—without all the confusion.
Keep it Simple: Don’t Overcomplicate the Process
One of the biggest mistakes I’ve seen, especially with younger kids, is trying to do too much too soon.
When they first open a video editing app, it’s tempting to add tons of effects, transitions, and clips.
But the thing is “less is more.”
A simple edit is usually more effective than an overly complicated one.
- Focus on the basics first–trimming clips and removing unnecessary footage.
- Start with simple edits and gradually add effects as confidence grows.
- Avoid overwhelming kids with too many transitions or effects.
- Teach them to create a smooth flow of the story before adding extra flair.
Use Cuts and Transitions Wisely
Cuts and transitions are two of the most important tools in video editing, but they’re often overused.
It’s easy to think that more transitions make a video more exciting, but that’s not always the case.
In fact, overusing transitions can take away from the story you're trying to tell. The best editors know when to cut and when to let the video breathe.
- Use cuts for simple scene changes—clean cuts often work best.
- Apply transitions only when there’s a big shift in the scene or mood.
- Don’t overuse transitions; they should enhance, not distract from, the story.
- Teach kids to choose transitions that fit the emotion of the scene (e.g., a dramatic fade for suspense).
Incorporate Sound to Create Mood
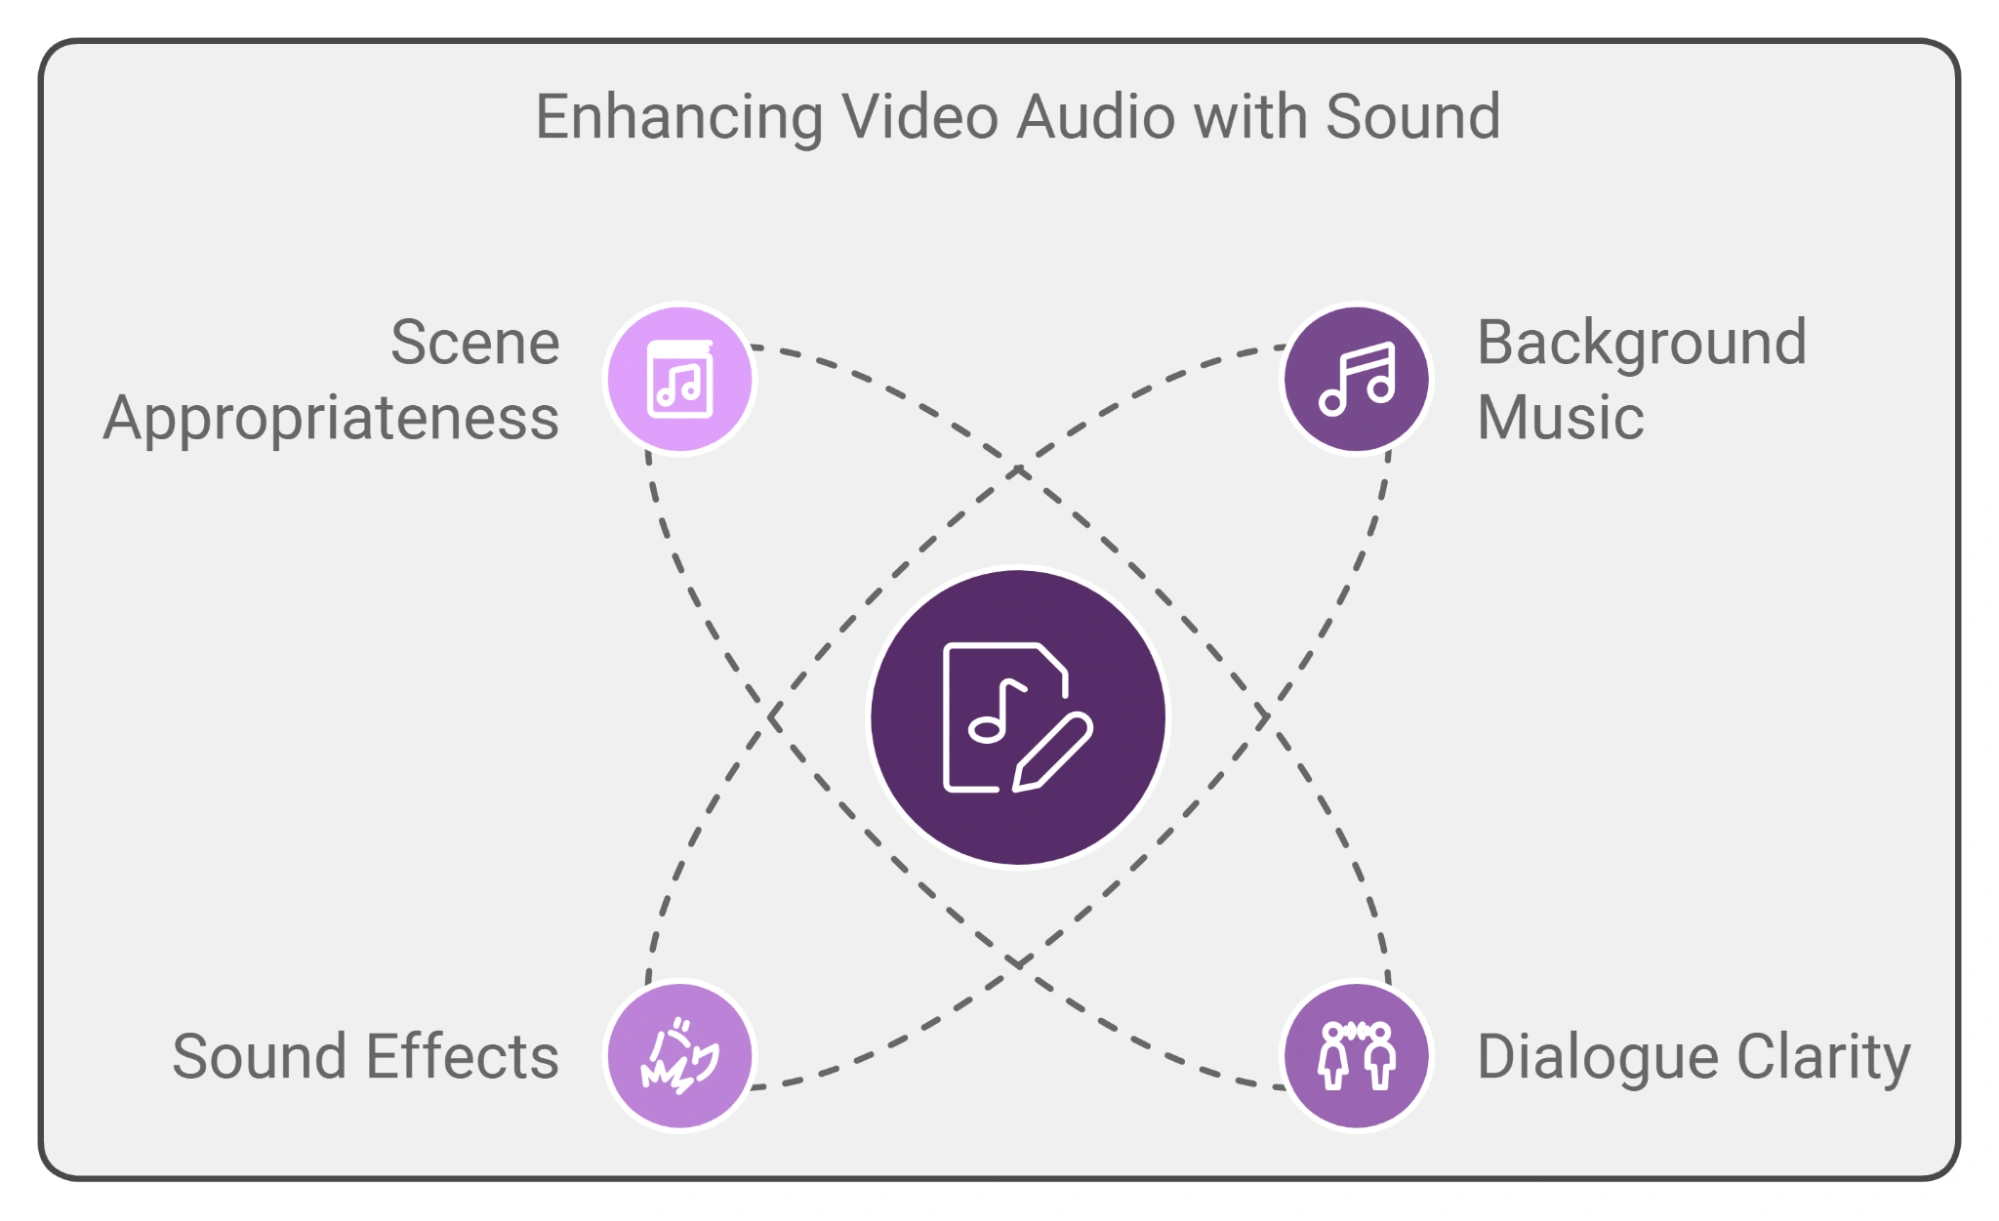
Audio is just as important as video. The right sound effects or music can completely change the vibe of a video. Therefore…
- Use background music to match the tone of the video (e.g., upbeat for fun, spooky for Halloween).
- Don’t let music overpower dialogue or key sound effects.
- Add sound effects (footsteps, laughter, clinking glasses) to make the video feel more immersive.
- Use quieter background music for scenes with dialogue to ensure clear audio.
Learn the Power of Speed
This trick is perfect for kids who want to add a creative touch to their videos without making things too complicated.
Time-lapse and slow-motion effects are simple but can make a huge difference. For example, a time-lapse of the sun setting can make a simple shot feel cinematic and powerful.
Also, teach kids to experiment with speed. Have them speed up footage of a boring task (like drawing a picture or cleaning a room) to make it more interesting.
Alternatively, slow-motion can turn a dramatic moment into something epic. Maybe they film their friend jumping and then slow it down to show off the motion.
Play with Text and Graphics
Text and graphics are a great way for kids to add their personal touch to videos.
But it’s easy to go overboard with them—too much text can distract from the video itself.
- Use simple titles or captions to enhance the story or highlight key moments.
- Experiment with fonts, colors, and animation styles, but ensure they complement the video.
- Start with basic text animations before advancing to more complicated graphics.
Don’t Be Afraid of Mistakes
Here’s a crucial tip for both parents and kids: mistakes are part of the process.
Editing is a learning experience, and kids shouldn’t be afraid to make errors.
If something doesn’t work out, that’s the beauty of video editing—they can always undo it, try something new, and learn from their mistakes.
I can’t tell you how many times I’ve seen kids get frustrated over small mistakes, but once they understand that editing is a process of trial and error, they feel more free to experiment.
Encourage them to push boundaries, make mistakes, and laugh along the way. That’s when the real learning happens.
Safety and Privacy Considerations
When it comes to kids and video editing, safety and privacy should always come first.
- Choose video editing platforms that offer strong parental controls and don’t expose kids to unnecessary risks, like user-generated content or inappropriate ads. Zebracat is a great option since it allows for safe, private editing without social media connections.
- Always encourage kids to keep their videos private until they understand the full implications of sharing content online and make sure they only post on platforms with secure privacy settings.
- Additionally, be mindful of how apps collect data, and review privacy policies to avoid unnecessary data collection that could compromise your child’s privacy.
How to Encourage Kids to Keep Learning
To keep kids motivated in video editing, turn the learning process into an exciting adventure.
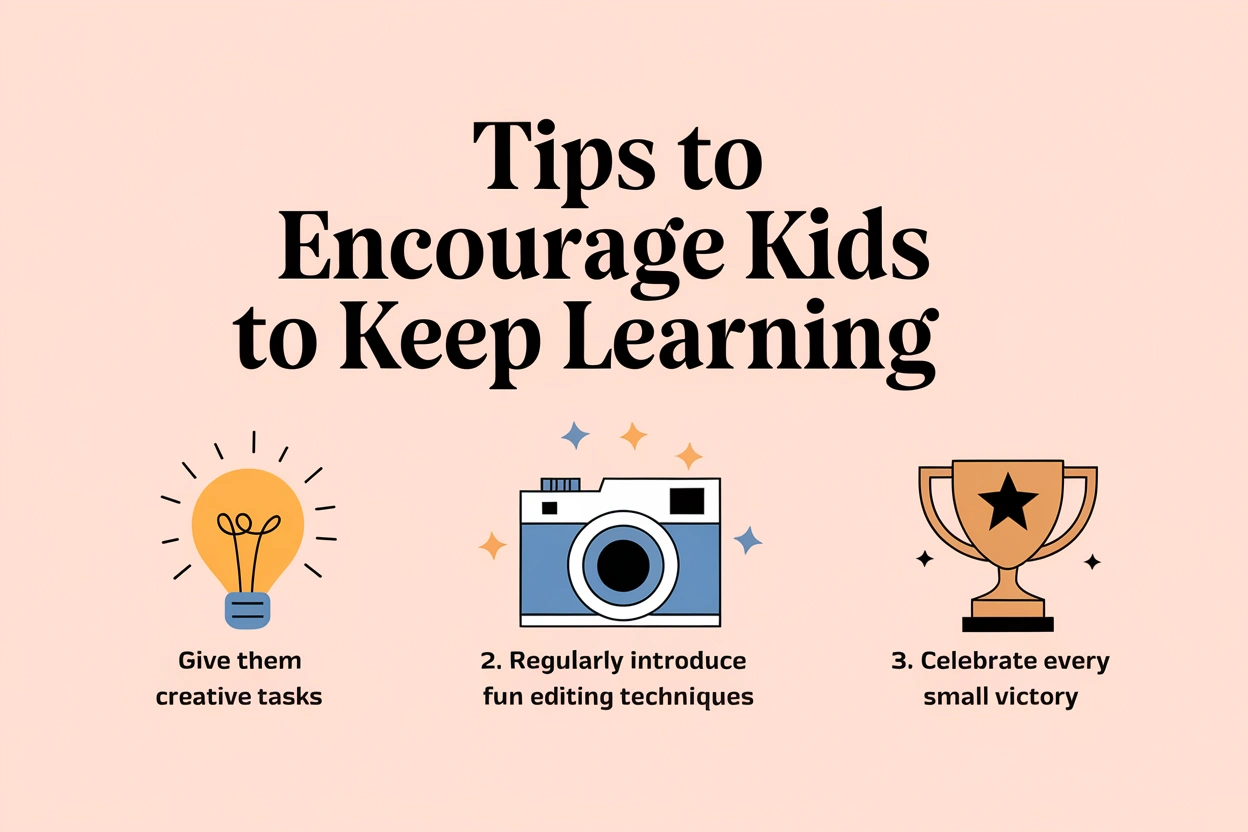
Give them creative tasks, like making a video on a theme they’re passionate about or experimenting with new effects, to ignite their curiosity and fuel their sense of achievement.
Celebrate every small victory, like mastering a new technique or seeing their video quality improve—these moments build their confidence and make them feel proud of their progress.
Regularly introduce new, fun editing techniques, like trying stop-motion or exploring special effects, to keep things fresh and exciting.
Letting kids create projects that feel personal—such as making a heartfelt video for a friend or a family event—will keep them inspired and motivated to take their skills to the next level.
Final Words
Video editing is a fun way for kids to learn new skills while being creative.
It helps them figure out how to tell stories, focus on tasks, and turn ideas into something they can share.
Kids can make simple projects like short movies, how-to videos, or fun clips with friends.
Moreover, using the right tools makes starting easier for kids.
And I can say that for beginners, Zebracat is a good choice.
It’s easy to use, doesn’t have ads, and helps kids start editing without any confusion.
So try Zebracat today and watch them create something amazing!
Create videos 10x faster and easier with Zebracat
Try it now


Comments