Table Of Content
You’ve spent hours creating the perfect video—killer visuals, spot-on editing, and a message you’re proud of.
You upload it to YouTube, hit publish, and… crickets.
Why? Because it doesn’t look or play the way it should.
The problem is, in 2025, viewers expect seamless, crisp visuals whether they’re watching on a massive 4K TV, a tablet, or a tiny phone screen. And when they don’t get it? They’ll scroll right past you.
And we all know what happens next: the algorithm buries your video and your channel stalls.
I’ve learned this the hard way—and thankfully, I’ve also figured out how to get it right.
Choosing the best video format for YouTube doesn’t have to be overwhelming. In fact, it’s one of the easiest ways to elevate your content instantly, keep viewers engaged, and make the YouTube algorithm work in your favor.
So in this guide, I will walk you through everything you need to know about video formats in 2025—no fluff, just actionable tips.
Ready to make every upload count? Let’s dive in.
Why Video Format Matters on YouTube?

Imagine you’re on YouTube, looking for a quick tutorial. You find what seems like the perfect video, but it’s blurry, stretched, or worse—choppy. You click away, frustrated. That’s how fast people judge your content.
And it’s not just the visuals; poor playback quality can cost you engagement, views, and subscribers.
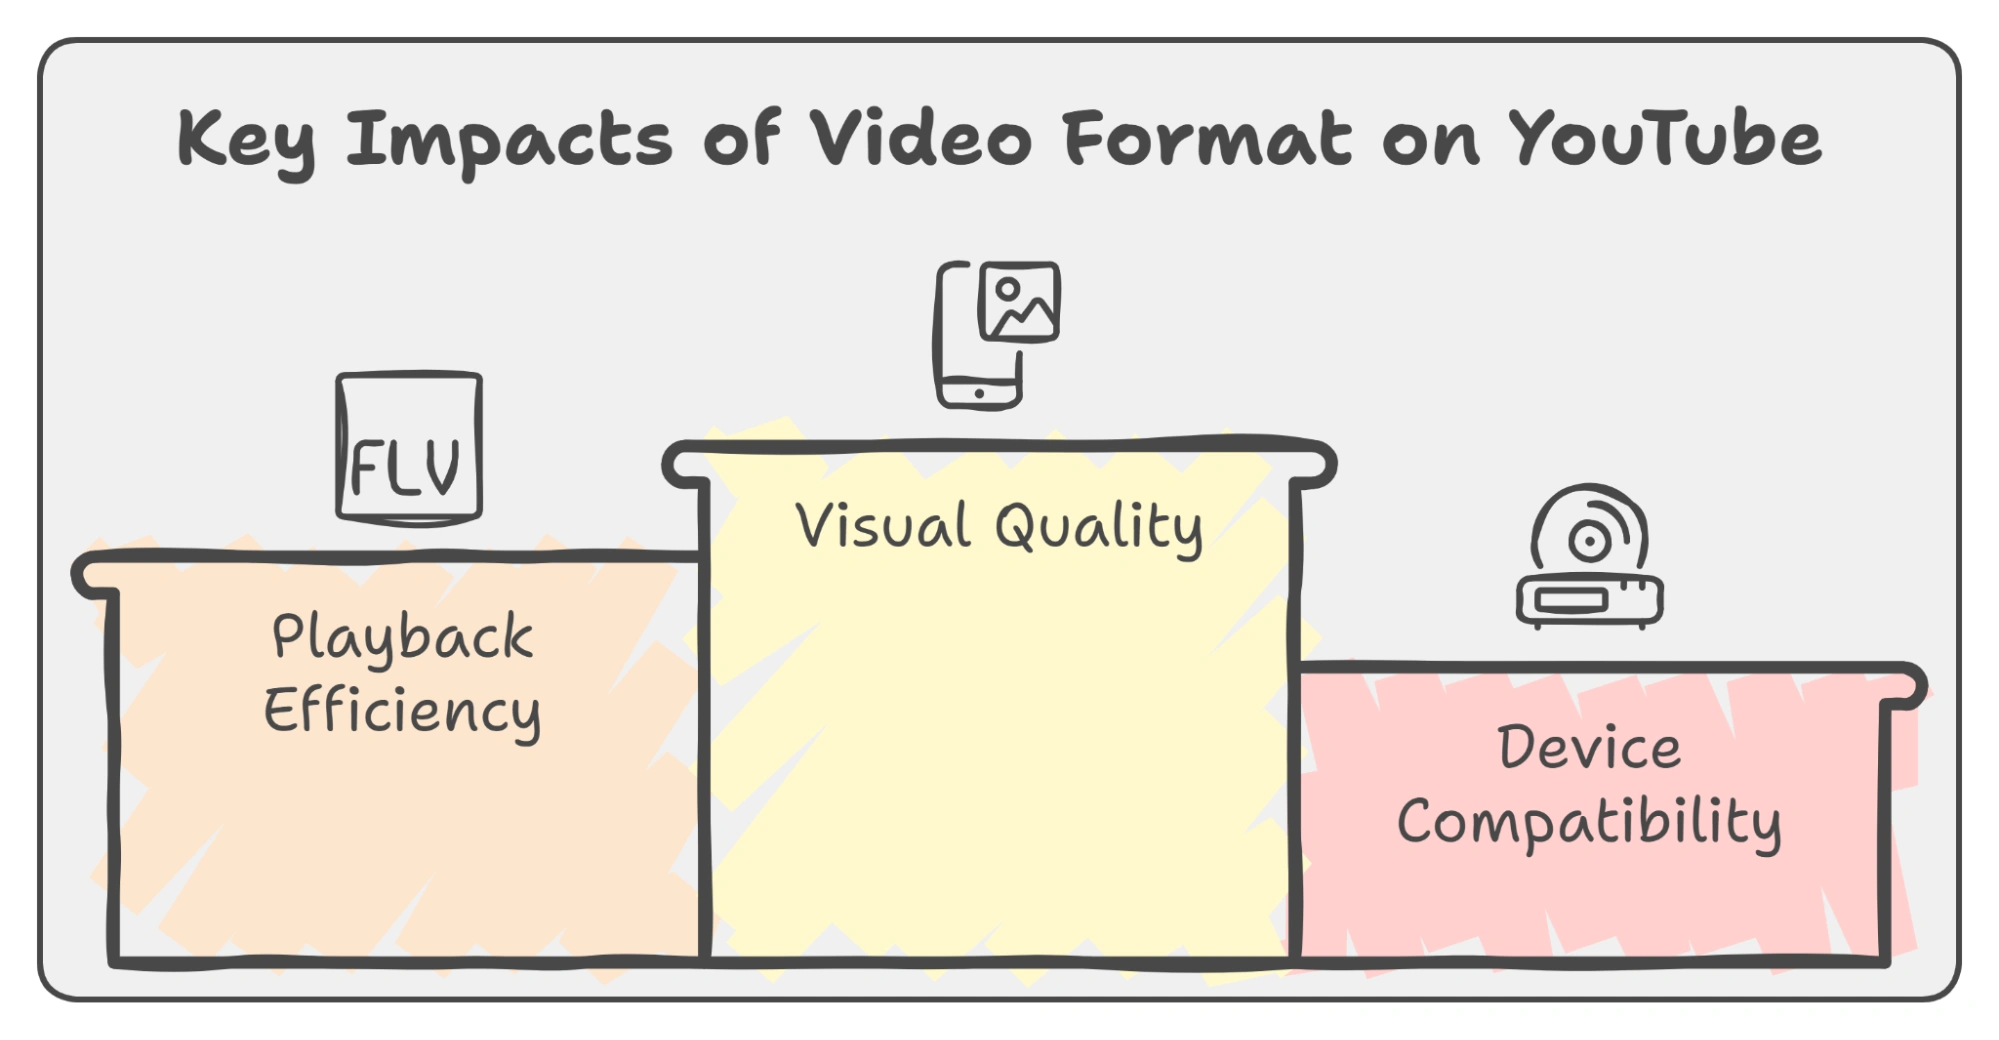
Therefore, your video’s format is the foundation of everything—quality, compatibility, and viewer experience. Yet, it’s something creators often overlook, especially in the rush to upload. Let me tell you why that’s a mistake:
- Your video’s format impacts how sharp and smooth it looks—especially on mobile. If it’s not optimized, people won’t give it a second chance.
- Bad formats mean bigger files, slower loads, and frustrated viewers. If video quality is poor, 78% of viewers will immediately lose interest and stop watching, while 38% will become so frustrated that they’ll leave the platform altogether because of buffering issues.
- Device compatibility = more reach. Your audience watches on everything from 4K TVs to old phones. The wrong format will look wrong somewhere, and you’ll lose potential viewers.
Therefore, the right format means giving your audience the best experience possible. And trust me, it pays off.
The Best Video Format for YouTube
MP4 with H.264 codec is the best video format for YouTube. Because it strikes the perfect balance between quality and file size, and YouTube loves it.
Moreover, it’s compatible across all devices—from phones, and computers to 4K TVs—and it keeps the file size manageable without sacrificing quality. You want your video to load fast, look great, and play smoothly. MP4 checks all those boxes.
Here’s a quick comparison of MP4 vs. other formats:
However, if you want to save time and avoid these format headaches, Zebracat, one of the best YouTube growth tools, can help you automatically format and optimize your videos.
With its AI-powered editing and formatting, you’ll be able to create videos that perform—without the technical hassle.
Video Specifications for YouTube
When it comes to YouTube, getting the technical side right is half the battle. You can have an amazing script, perfect lighting, and fantastic editing—but if the video specs aren’t optimized, all of that can go to waste.
Let's break down what you need to know.
Resolution Recommendations

Resolution is everything. Here’s why: YouTube automatically adjusts the quality of your video based on your viewer's internet speed and device. So if your resolution isn’t right, your viewers might see a blurry, pixelated mess, especially on bigger screens.
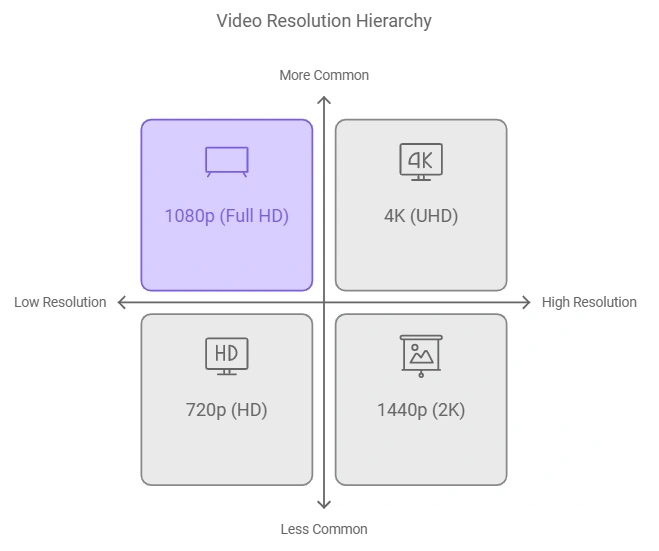
- 720p (HD) is the bare minimum. It’s fine for casual content but feels outdated on bigger screens.
- 1080p (Full HD) is what most people expect, especially for regular YouTube videos. It’s the sweet spot for quality vs. file size.
- 1440p (2K) gives a noticeable boost in clarity, but you’ll want this only for professional-looking content or detailed visuals.
- 4K (UHD) is becoming the standard for high-end creators, especially in niches like gaming, tech reviews, or cinematic content. But not everyone watches 4K videos, so unless you’re making premium content, 1080p will serve you just fine.
YouTube fully supports all these resolutions, but 1080p is the most common. In fact, while the 4K TV market is projected to grow from USD 232.13 billion in 2024 to USD 2.67 trillion by 2037, only about 10% of YouTube videos are watched in 4K resolution.
Therefore, anything above 1080p will require more storage, and better internet speeds for uploading, and might not make a noticeable difference for many viewers.
Aspect Ratio
Aspect ratio is a way to describe the shape of an image or video. It tells you how wide something is compared to how tall it is. It matters for the presentation of your video.
The default and most recommended aspect ratio for YouTube is 16:9. Why? Because it's designed to fit perfectly on both wide screens and mobile devices.
If you upload a video in a different aspect ratio, YouTube will either crop it or add black bars. Either way, it distracts from your content and can look unprofessional. Stick to 16:9, and your video will fill the screen, no matter how it’s being viewed.
Frame Rates
Frame rate, commonly expressed in frames per second, is the frequency at which consecutive images (frames) are captured or displayed in video and animation. It’s another often overlooked factor.
YouTube supports various frame rates, but choosing the right one depends on your content. Here are the most common ones:
- 24fps: This is the cinematic standard. It’s ideal for movies, storytelling, and dramatic content. If you’re going for that “film” look, this is your go-to frame rate.
- 30fps: The standard for most YouTube videos. It’s the safe choice for tutorials, vlogs, or anything else where smooth motion is important, but you don’t need the high-end look of 24fps.
- 60fps: Perfect for fast-paced content like gaming, sports, or action-packed videos. It gives a super smooth and fluid look, ideal for dynamic scenes.
Audio Settings
The quality of your audio matters almost as much as the video itself. If your viewers can’t hear you clearly, they’re more likely to click away.

After some trial and error, I found that the AAC-LC codec is the go-to for YouTube. It gives you excellent audio quality without making your file-size balloon, which is a lifesaver when uploading.
- Stereo is fine for most videos. If you're recording dialogue, music, or anything that doesn’t require multi-channel audio, stereo works perfectly.
- YouTube’s standard for audio is the 48kHz sample rate. While this might sound technical, it simply means your audio will sound clear and professional without unnecessarily bloating the file size.
Bitrate Guidelines
Bitrate affects both the quality and the size of your video file. YouTube’s bitrate recommendations depend on the resolution of the video:
The higher the bitrate, the better the video quality, but it also means a larger file.
- If you upload a video at a bit rate that is too low, it’ll appear pixelated or blurry.
- If you go too high, you risk unnecessarily large files that could slow down upload times without a noticeable quality increase.
Common Mistakes to Avoid

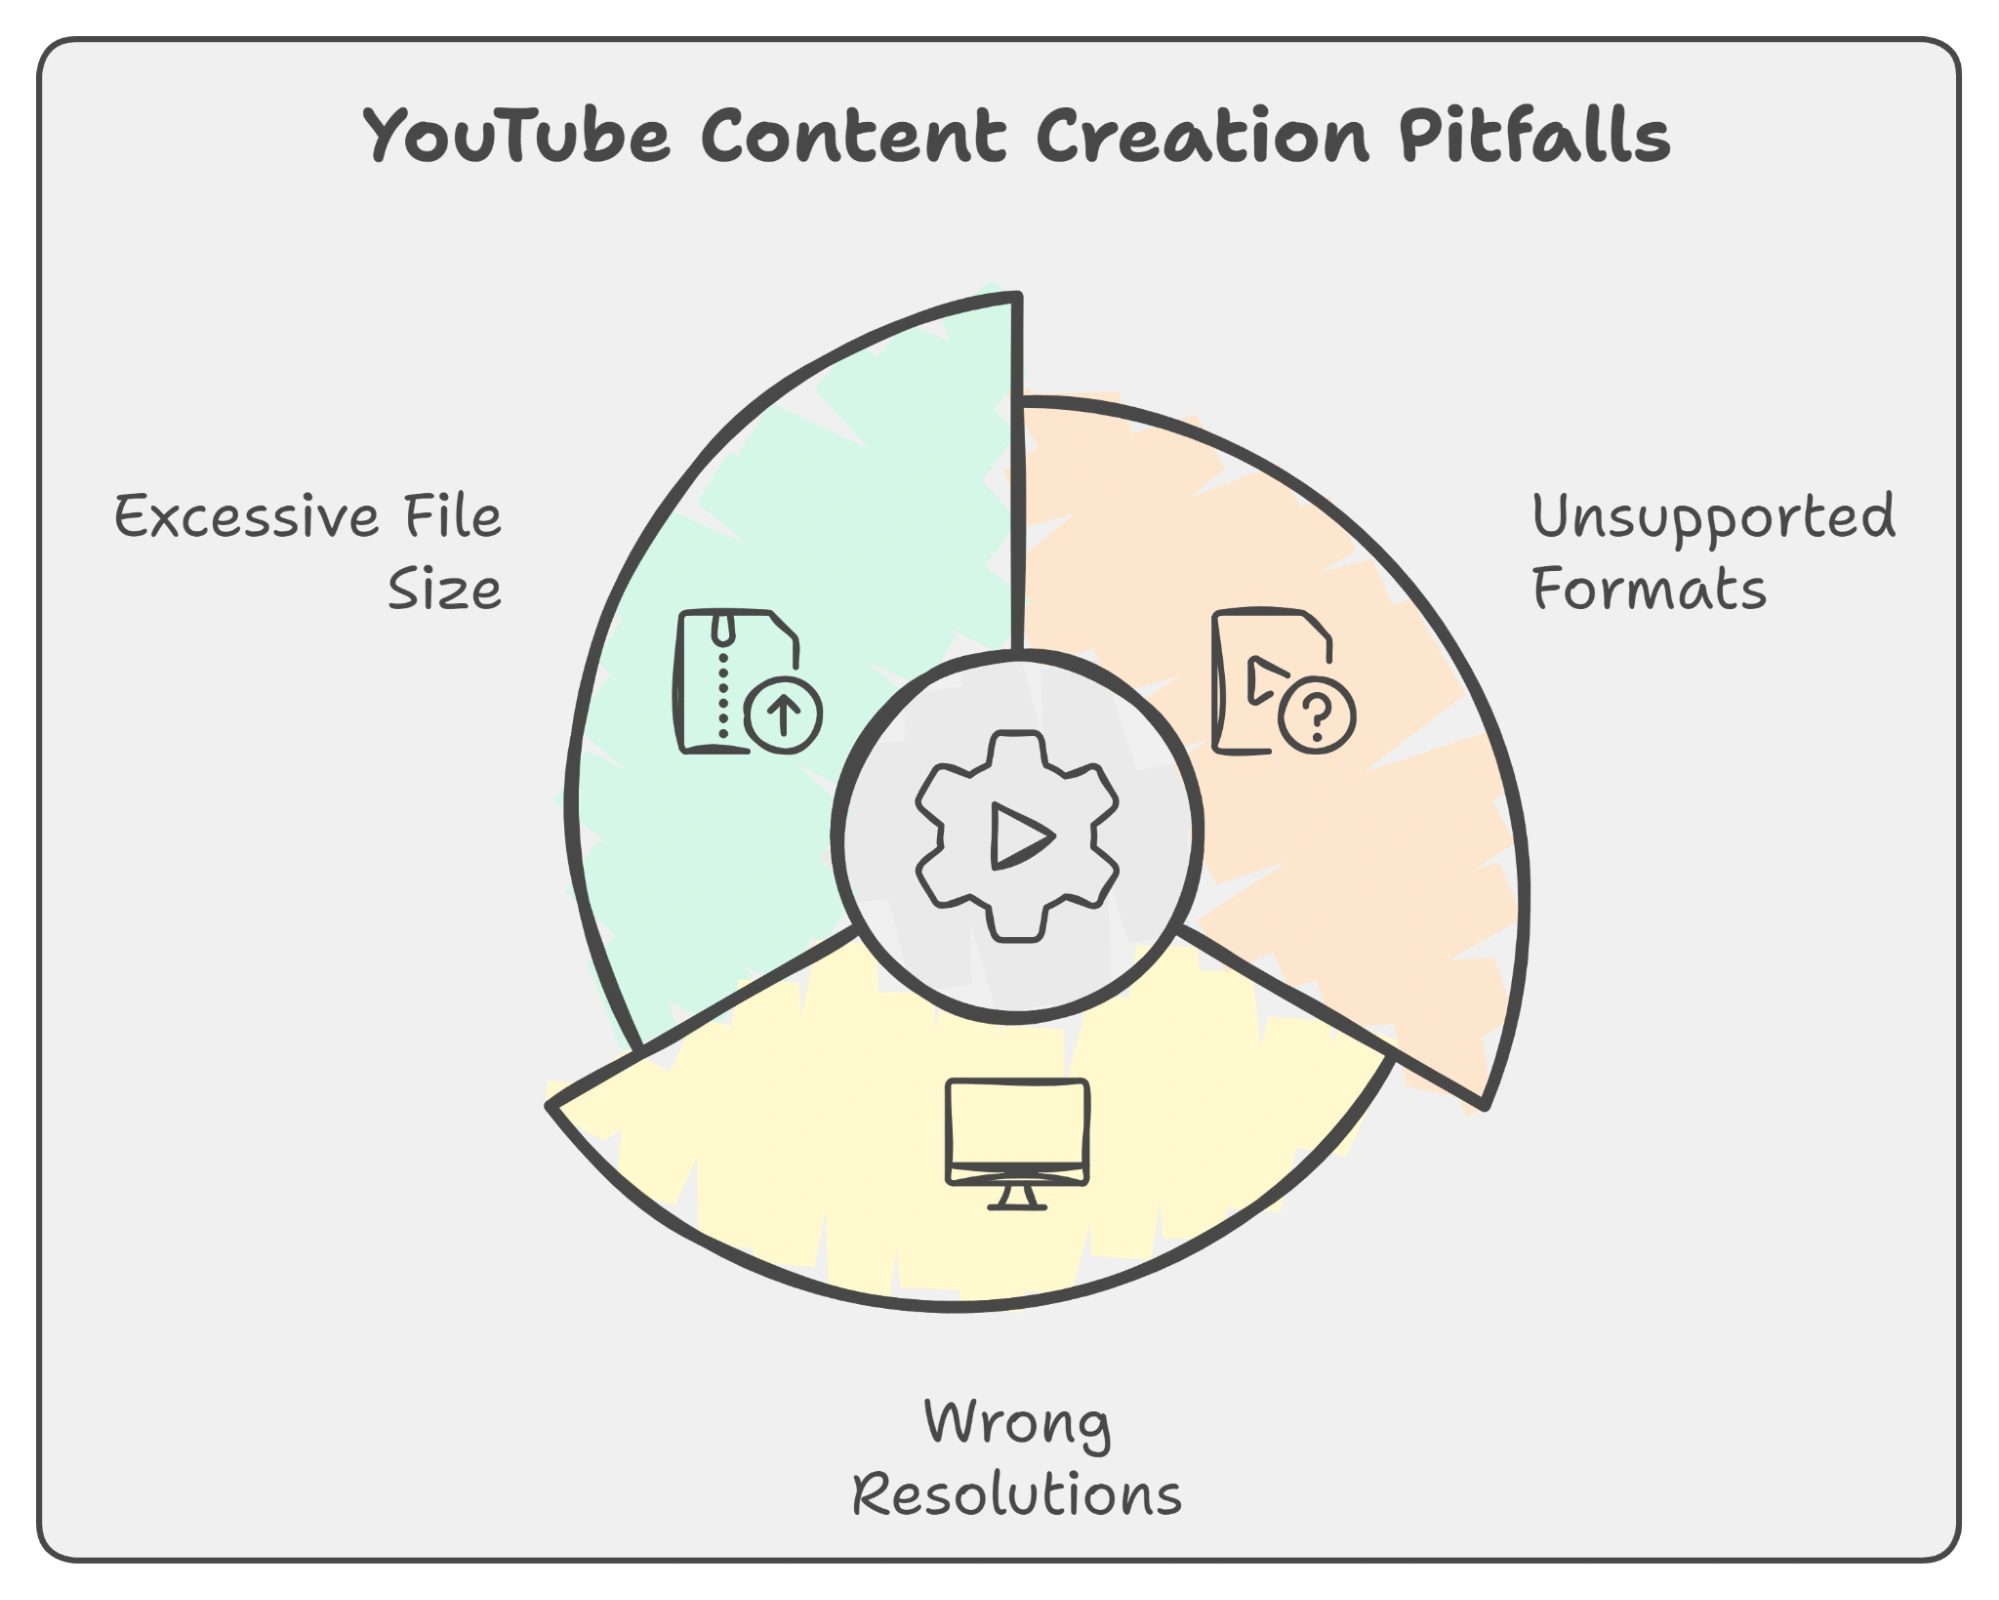
When creating YouTube content, even small mistakes can lead to big setbacks. Here are the ones you should avoid:
Using Unsupported Formats
Uploading an unsupported format? Disaster. YouTube plays nicely with MP4, but less common formats like AVI or MOV can lead to playback issues or slower uploads.
Plus, unsupported formats can cost you views. If your video stalls or glitches, you’re losing your viewers before they even hear your message.
Pro Tip: Zebracat simplifies this process. It automatically exports videos in the right format thus saving you time and ensuring compatibility.
Wrong Resolutions
Resolution errors—like black bars or stretched visuals—make your content look unpolished. YouTube favors 1920x1080 (Full HD). Anything else can hurt your rankings and viewer experience.
I learned this the hard way when I uploaded a tutorial in 720x480, and the feedback was brutal: “Why does this look like it was filmed in 2005?” Harsh but fair.
Resolution issues can also affect algorithm performance. Videos that don’t meet HD standards often rank lower in search results. Because YouTube prioritizes user satisfaction, blurry or cropped content isn’t cutting it.
Avoid the Pitfall: Before hitting “upload,” double-check your resolution settings. Most editing tools make this simple.
Excessive File Size
Have you ever waited 30 minutes or more for a video to upload? If so, your file size might be the problem.
Large file sizes slow uploads and hog storage space. For example, a 10-minute 4K video can easily exceed 10GB. Not all creators have unlimited internet speeds or storage.
The average global upload speed is only 14 Mbps—a massive file can choke that bandwidth.
To avoid this, use compression tools or export in YouTube-friendly settings, which balance quality with manageable file size.
How to Convert Videos to YouTube’s Best Format?
Struggling with video formats? Converting videos to the right format is easier than you think—but only if you do it right. Let’s break it down.
Free Tools for Conversion
The good news: you don’t need expensive software to convert videos. Tons of free tools do the job well.
- Movavi Video Converter is a fan favorite. It’s free and supports all major formats. Plus, it has presets specifically for YouTube.
- Zeemo allows users to convert YouTube videos directly into MP4 format and edit them for social media sharing.
- Online Convert is a free online service that Supports multiple input formats and outputs them in a YouTube-compatible format (recommended: MP4).
- Zebracat converts text to video or blog to video and automatically downloads YouTube videos in the preferred format. No guesswork. No wasted time.
Tips for Maintaining Quality During Conversion
Converting a video shouldn’t mean losing quality. Here’s how to avoid that.
- Start with High-Quality Source Files
You can’t make a blurry video look sharp, no matter how good the converter is. Always start with the best version of your video.
- Use the Right Settings
Choose H.264 encoding for the best balance of quality and file size. Keep the bitrate between 8 Mbps (1080p) and 35 Mbps (4K). Lower bitrates save space but hurt quality.
- Don’t Overcompress
Compression reduces file size but overdoes it, and your video will look like it’s from 2008.
Advanced Tips for Uploading Videos
Uploading a video to YouTube might feel straightforward—hit “upload,” and you’re done. But if you want your content to stand out in quality and performance, there’s more to it.
Let’s dive into two advanced yet essential factors—keyframe intervals and progressive vs. interlaced videos.
Keyframe Intervals
Keyframe intervals determine how often full frames are saved in your video. Only changes are recorded between those frames. The right setting can improve playback smoothness and affect streaming quality.
For YouTube, the recommended keyframe interval is 2 seconds. It balances quality and file size while reducing buffering for viewers. A longer interval can result in pixelation, especially during fast-paced scenes.
University of Massachusetts at Amherst studies show that video buffering increases abandonment rates by 39%. A poorly set keyframe interval can make your video more prone to lagging, which drives viewers away.
Progressive vs. Interlaced Video

Not all videos are created equally—especially when it comes to how they’re displayed.
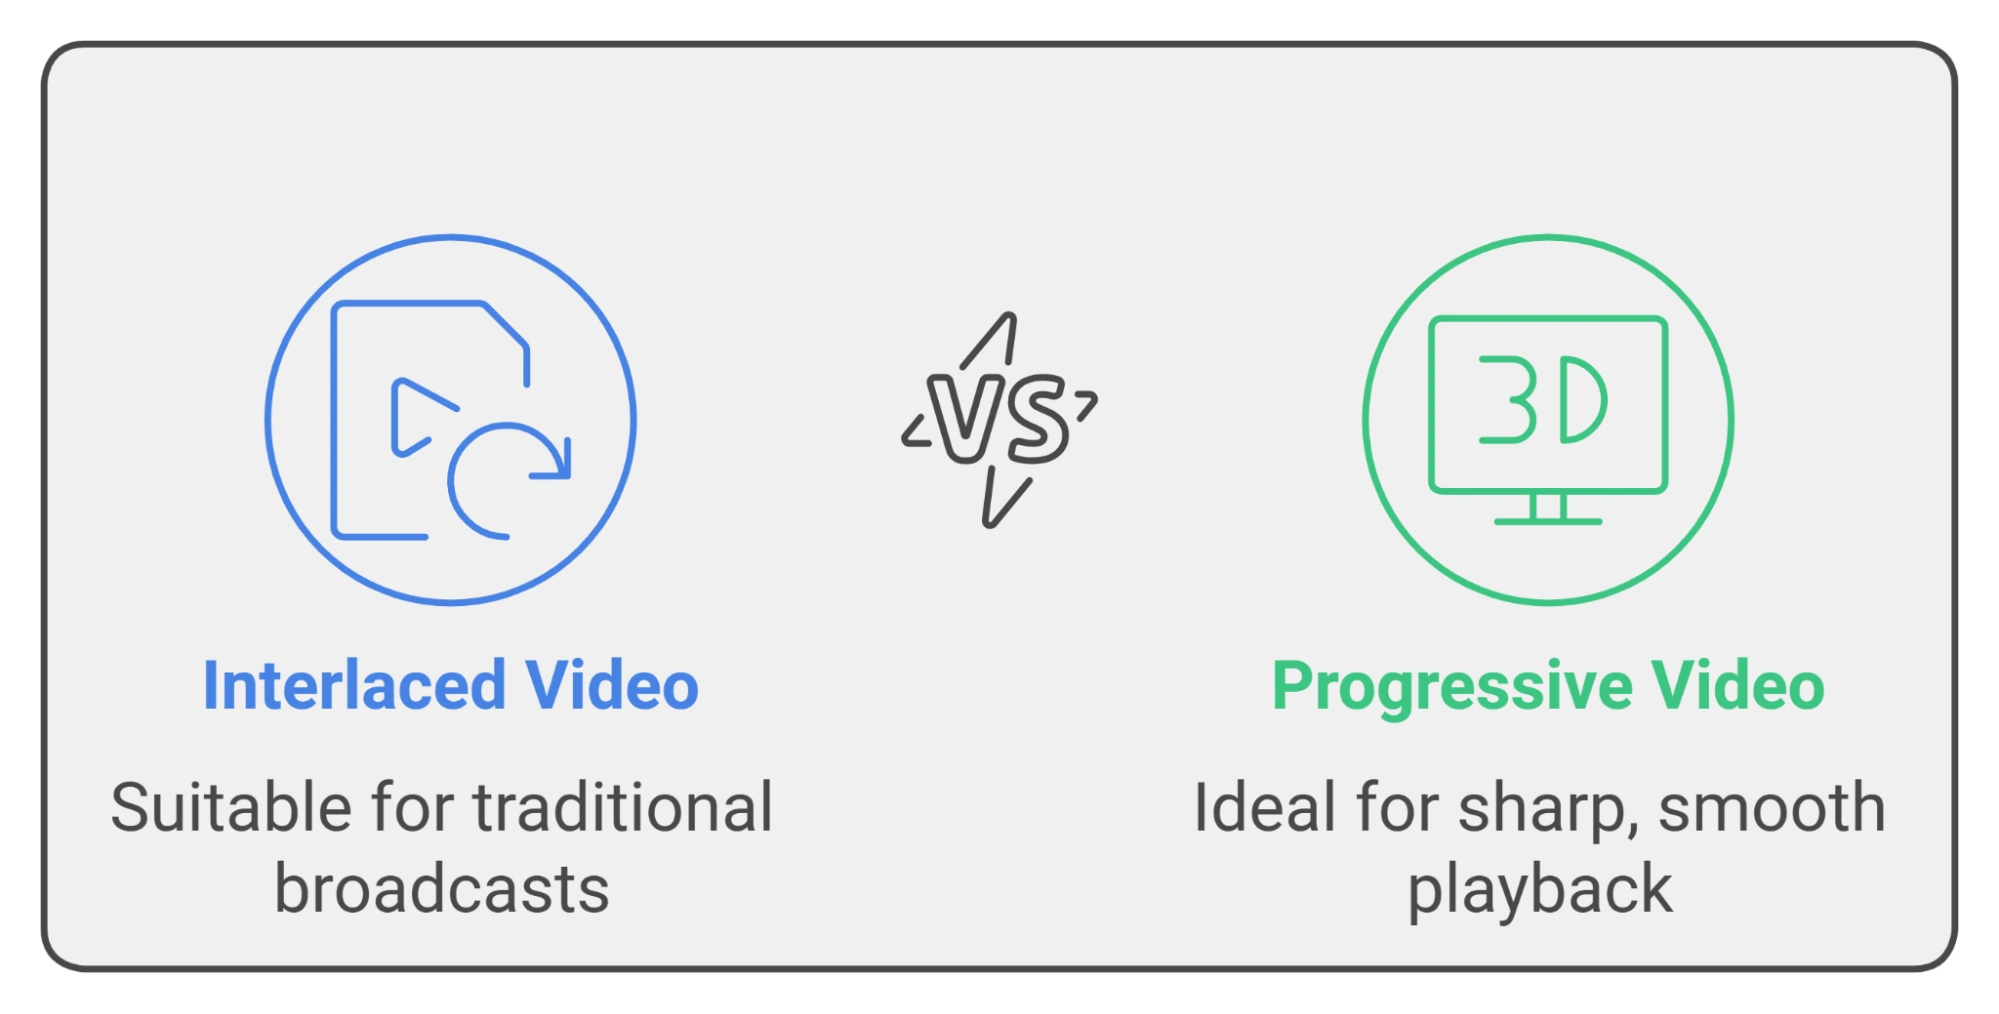
- Interlaced Video: Displays alternate lines of the image in two passes. It’s an outdated method mostly used in broadcast TV.
- Progressive Video: Displays the entire image in one pass, making it sharper and smoother.
YouTube prefers progressive video, and so should you. Interlaced videos often show those annoying horizontal lines during playback.
Once, I accidentally uploaded an interlaced video, and the audience feedback was brutal: "Why does this look like an old VHS tape?" Never again.
Pro Insight
Progressive video is essential for modern viewers who expect high-quality content, especially on 4K displays. A study found that 56% of viewers expect videos to be in HD or better. Interlaced formats don’t cut it anymore.
Optimize Every Upload for 2025 and Beyond
Getting your video format right is a game-changer when it comes to YouTube. I used to ignore the technical aspects, thinking the content would speak for itself.
But once I started paying attention to the technical details—MP4 with H.264, choosing the right resolution, and setting proper keyframe intervals—my videos began performing better.
Therefore, creators who win on YouTube are the ones who treat every upload as an opportunity to impress, connect, and convert. Your video’s format is its foundation—if it’s shaky, the entire structure falls apart.
And you don’t need to be a tech wizard to get this right. Zebracat simplifies the process by automatically formatting the video in YouTube’s preferred settings, ensuring optimal resolution, file size, and compatibility—all without you lifting a finger.
So start taking your uploads as seriously as your content. Your audience—and the algorithm—will reward you for it.
FAQs
What Is the Best Codec for YouTube?
The best codec for YouTube is H.264, as it provides a good balance between video quality and file size. It ensures fast uploading, smooth playback, and broad compatibility across devices and platforms.
Does YouTube Accept 4K Videos in All Formats?
Yes, YouTube accepts 4K videos, but they must meet specific requirements like a resolution of 3840 x 2160 pixels, a frame rate of up to 60fps, and a bitrate between 35–45 Mbps.
Formats like MP4, MOV, HEVC (H.265), and WebM are supported, but other formats may be converted to MP4 during the upload process.
How Does File Size Affect Upload Speed?
File size directly impacts upload speed, as larger files take more time to transfer over the internet. Upload time can be reduced by optimizing file sizes through compression and considering your upload speed.
Can I Upload Videos in MKV Format?
YouTube does not support uploading videos in MKV format directly. To upload, you need to convert the MKV file to a supported format, such as MP4, MOV, or AVI.
What Happens if My Video’s Aspect Ratio Isn’t 16:9?
If your video’s aspect ratio isn’t 16:9, YouTube will add black bars to fit the frame. For the best viewing experience, it's recommended to crop or resize your video to 16:9.
Create videos 10x faster and easier with Zebracat
Try it now

.png)


-p-130x130q80.jpeg)
Comments